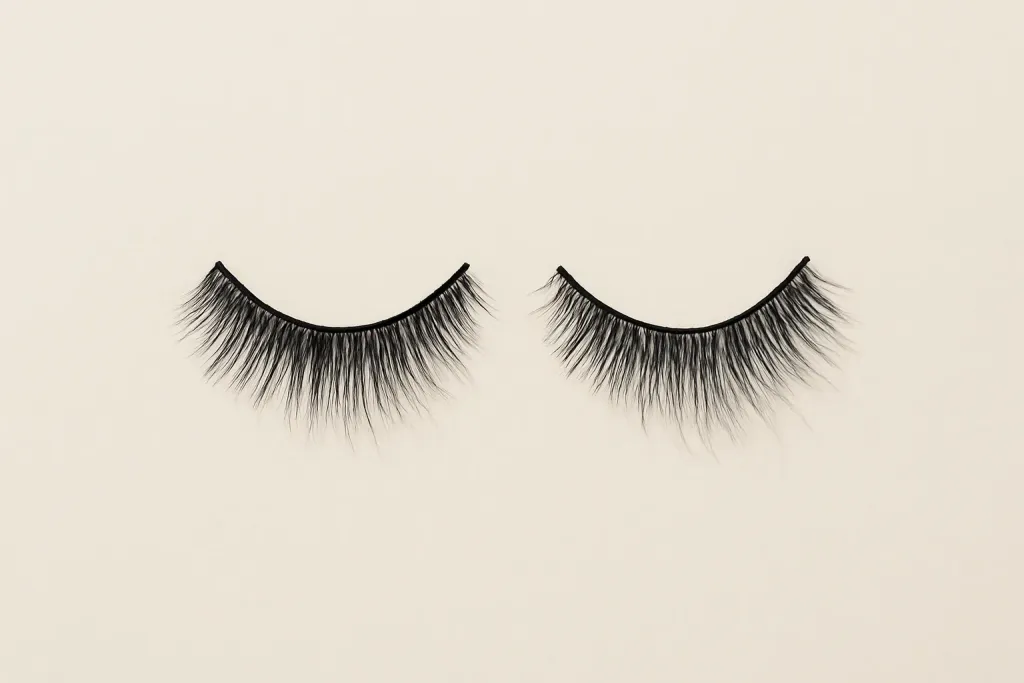
What Are Bottom False Lashes?
Bottom false lashes are temporary lash strips, clusters, or individual pieces designed for the lower lash line. They are used to add definition, balance, or extra drama to eye makeup, especially when you want the lower lashes to look fuller than mascara alone can achieve. For beginners, the category can feel a little intimidating because the lower lash line is smaller and more delicate than the upper lid, but the basic idea is simple: choose a tiny, lightweight lash that suits the look you want.
Many people first think of false lashes as an upper-lash product, yet bottom false lashes can make a noticeable difference in the overall shape of makeup. They can help frame the eyes, make a glam look feel more complete, or create a soft doll-like effect. They can also be useful if your natural lower lashes are sparse, light, or hard to define with mascara.
Because the lower lash line is close to the eye, beginners should look for styles made specifically for the bottom lash area rather than trying to trim a regular strip and hope for the best. Purpose-made options are usually shorter, lighter, and easier to place. The key is subtlety: on the lower lashes, less often looks more polished.
Why Beginners Try Them
Bottom false lashes appeal to beginners for a few simple reasons. First, they can instantly change the balance of eye makeup without requiring a full makeup routine overhaul. If you already enjoy mascara, eyeliner, or a soft shadow look, adding lower lashes can give the eyes a more finished appearance. Second, they can be a good option when your natural lower lashes are uneven or less visible in photos and in everyday makeup.
Another reason beginners explore bottom false lashes is flexibility. Some styles are subtle enough for a soft daytime look, while others are more noticeable for evening makeup, special occasions, or content creation. This range makes them an approachable way to experiment without committing to a permanent service or a complicated routine.
That said, the lower lash line is not the place to start with the most dramatic option. A beginner-friendly approach usually means choosing lashes with a short band, lightweight fibers, and a natural taper. If the strip looks too dense in the package, it may be harder to make it look believable on the lower lashes. Starting small helps you learn what feels comfortable and what suits your features.
How to Choose a Style
Choosing bottom false lashes starts with deciding how noticeable you want them to be. If you want the lashes to blend in quietly, look for sparse, wispy styles that mimic natural lower lashes. If you want a more stylized makeup look, you can choose a slightly fuller design, but it should still be compact and lightweight. The lower eye area usually looks best with shorter fibers and a fine band.
Shape matters too. Some bottom false lashes are evenly distributed across the band, while others are clustered or slightly tapered toward the outer corners. Even styles can be easy for beginners because they create a predictable shape. Tapered styles can be flattering if you want the outer corners to appear a bit lifted or elongated. If you are unsure, a soft, even pattern is often the easiest place to begin.
You should also think about how the bottom lashes will work with the upper lashes and the rest of your makeup. A very dramatic upper lash pair can make a barely-there lower lash look intentional, while a strong lower lash can create a more editorial effect. Matching the two ends of the eye helps the whole look feel balanced. For a beginner, it can be helpful to picture the final makeup look before choosing the lash style, not after.
Tools and Prep Before Application
A little prep makes bottom false lashes easier to handle. Start with clean, dry skin around the eyes so your lash adhesive can grip properly. If you have already applied powder, shadow, or liner, make sure the lower lash line is free from excess product where the band will sit. A clutter-free surface can make placement less frustrating.
Common tools include tweezers or a lash applicator, a small pair of scissors for trimming if needed, lash adhesive made for false lashes, and a magnifying mirror if you find that helpful. Some people also like a cotton swab or a clean spoolie for gentle adjustment. Beginners often do best when they lay everything out before starting, rather than reaching for tools mid-application.
It can also help to measure the lash strip against your lower lash line before applying glue. Even lashes designed for the bottom eye area may be a little too long for your face. If the strip extends too far into the inner or outer corner, it can feel awkward and be more likely to lift. Trimming a little at a time is usually safer than cutting off too much at once.
Browse our recommended products
Our featured picks refresh periodically. While we update them, our editorial guides can help you find the right pick.
See our guides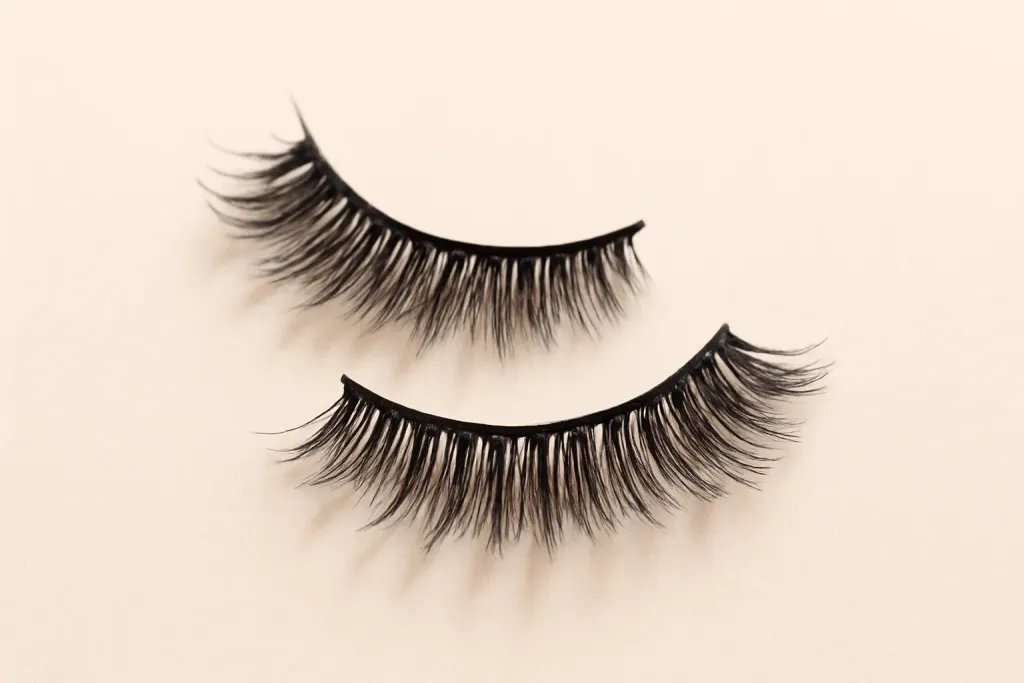
Step-by-Step Application
Applying bottom false lashes is easier when you work slowly. Begin by checking the size of the lash strip against your lower eye. If needed, trim tiny amounts from the outer end until the length looks comfortable. Hold the lash with tweezers or your fingers and note which direction the fibers are facing, since lower lashes should point downward naturally rather than curve in a way that fights the eye shape.
Next, apply a thin line of lash adhesive along the band. Beginners usually get the best results by using less glue than they think they need, because too much adhesive can create slipping, messiness, and a heavier feel. Let the glue become tacky before positioning the lash. This step helps the strip stay in place instead of sliding around.
When placing the lash, look down slightly into a mirror and set the band close to the natural lower lash line. Use the tip of your applicator or tweezers to press the center into place first, then adjust the inner and outer corners. If you are applying the lashes directly under the natural lower lashes, keep the strip neat and as close to the lash line as possible without touching the eye itself. Once the strip is on, use a gentle press to secure it and make the look feel integrated.
Take a moment to check symmetry. The two eyes do not need to look identical, but they should feel balanced. If one side looks heavier, a tiny adjustment can often fix it. If the lash placement feels uncomfortable, it is better to remove it and try again than to keep pushing through a bad fit.
Common Beginner Mistakes to Avoid
One common mistake is choosing a bottom lash that is too thick, too long, or too dense for the lower lash line. What looks glamorous in the package may read as overwhelming on the face. The lower eye area has less space, so styles that seem delicate on paper can still look bold once applied. Starting with a lighter design can save you a lot of frustration.
Another mistake is using too much glue. Heavy adhesive can make the lash harder to position and more noticeable once dry. It can also cause the strip to shift as you try to adjust it. A thin, even layer is usually enough for beginners. If you need more hold, it is better to refine your technique than to keep piling on adhesive.
Beginners also sometimes place the strip too far below the natural lash line. This can make the lashes look disconnected from the eye and may feel less secure. On the other hand, placing them too close to the eye itself can be irritating. The sweet spot is close, neat, and comfortable. Another issue is skipping the trim step. A strip that is too long can poke the inner corner or pull at the outer corner, which makes wear less pleasant. Small adjustments usually make a big difference.
Removal and Aftercare
Removing bottom false lashes should be gentle. Do not tug the band away quickly. Instead, soften the adhesive according to the product instructions and lift the edge slowly from the outer corner. Work carefully so you do not pull on the delicate lower lash line. If the lash feels stuck, pause and loosen it a bit more rather than forcing it off.
After removal, clean away any remaining adhesive from the skin and from the lash band if you plan to reuse the pair and the product is designed for that. Store the lashes in a clean container or the original tray so they keep their shape. If the fibers are bent, you can often restore the curve by placing them back into the tray rather than stuffing them into a makeup bag.
For the eye area, keep aftercare simple. Remove any leftover makeup, cleanse gently, and avoid rubbing the lower lashes or eyelids. If your eyes feel irritated, red, or sore after using false lashes, stop using the product and seek professional care if the discomfort persists. Temporary lashes should enhance your routine, not make your eyes feel stressed or uncomfortable.
Styling Tips for a Natural Look
If your goal is a natural finish, focus on harmony rather than drama. Bottom false lashes look most believable when they complement the rest of the makeup instead of competing with it. A soft lower lash can pair well with a light wash of shadow, clean skin, and a subtle upper lash. If you are using eyeliner, keep it balanced so the lower lashes still feel like part of the eye rather than a separate accessory.
Color also matters. Most beginners reach for black because it is easy to match with mascara and liner, but softer looks can also work if the lashes blend well with your overall makeup. The important part is that the lash fibers and band do not dominate the eye. Sparse or wispy shapes often look more natural than very full designs on the lower line.
You can also refine the look by keeping the lower lashes clean and separated after placement. A small spoolie or gentle fingertip adjustment can help remove clumping and make the fibers sit more neatly. If you want to experiment, try wearing bottom false lashes with different eye looks and notice how much of a difference the lower line makes. That kind of low-pressure practice is one of the easiest ways for beginners to learn what suits them.