What belongs in a starter kit
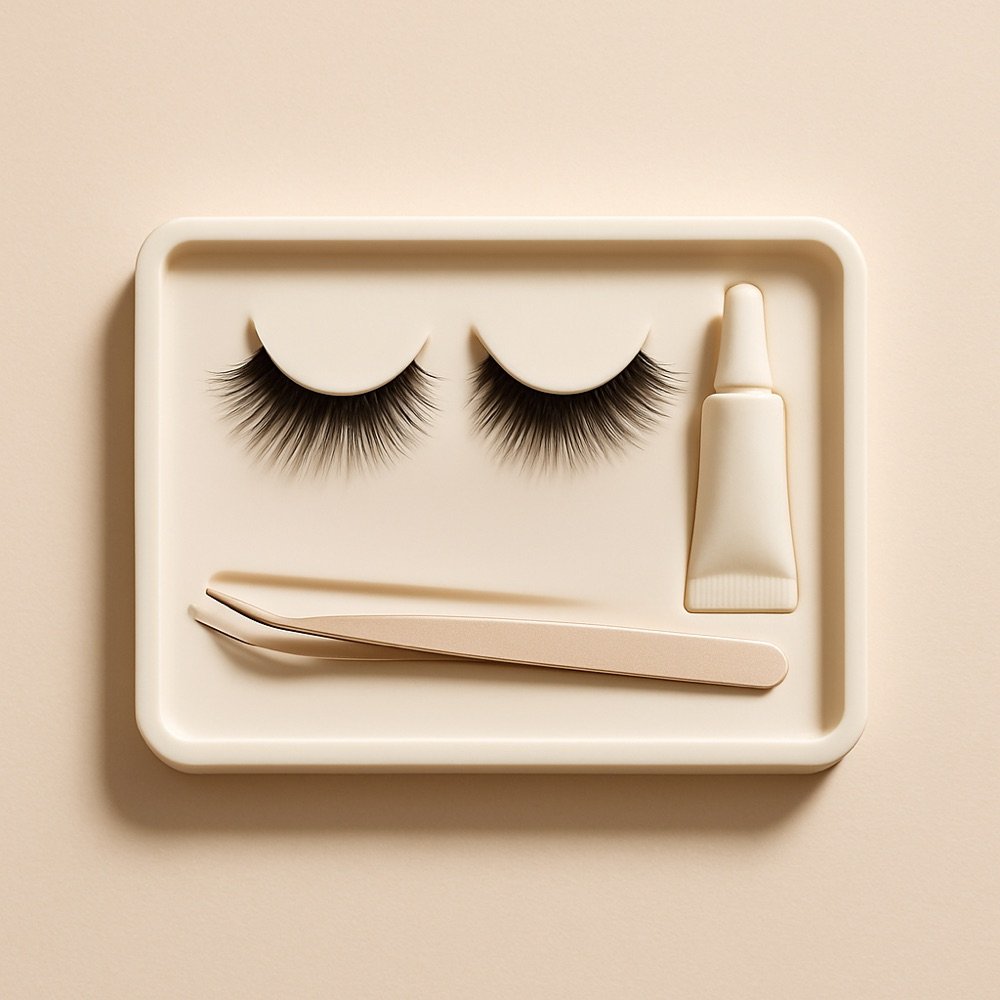
A false lash starter kit doesn't need to be elaborate. At its core, a beginner needs one lash style suited to easy application, one adhesive matched to that style, one placement tool, and a small mirror. Everything beyond that -- multiple lash shapes, several glue colors, a full tool set -- is worth adding later, once you've built some comfort with the basics.
Choosing your first lash style
For a first attempt, a single strip lash with a thin, flexible band is generally the most forgiving option, since it involves one placement decision rather than several. Look for a style described as lightweight or beginner-friendly, with moderate rather than dramatic length and volume -- an easier style to place accurately, and a more versatile everyday look while you're learning. Our full buying guide covers style selection in more depth once you're ready to branch out.
The adhesive
Choose a clear, beginner-friendly lash adhesive with a moderate dry time -- not so fast that you have no time to adjust placement, not so slow that you're holding the lash in place for an uncomfortably long stretch. If you have any known sensitivity, choose a latex-free formula and patch-test it first. Our lash glue buying guide goes through these choices in detail.
Essential tools
- A precision applicator or fine-tip tweezers, which give more control than fingers alone when placing a strip or cluster.
- Small curved scissors, for trimming a strip lash to fit your eye width -- see our trimming guide.
- A small mirror positioned so you can look slightly downward while applying, which gives a clearer view of your lash line than looking straight ahead.
Browse our recommended products
Our featured picks refresh periodically. While we update them, our editorial guides can help you find the right pick.
See our guidesA simple first-week routine
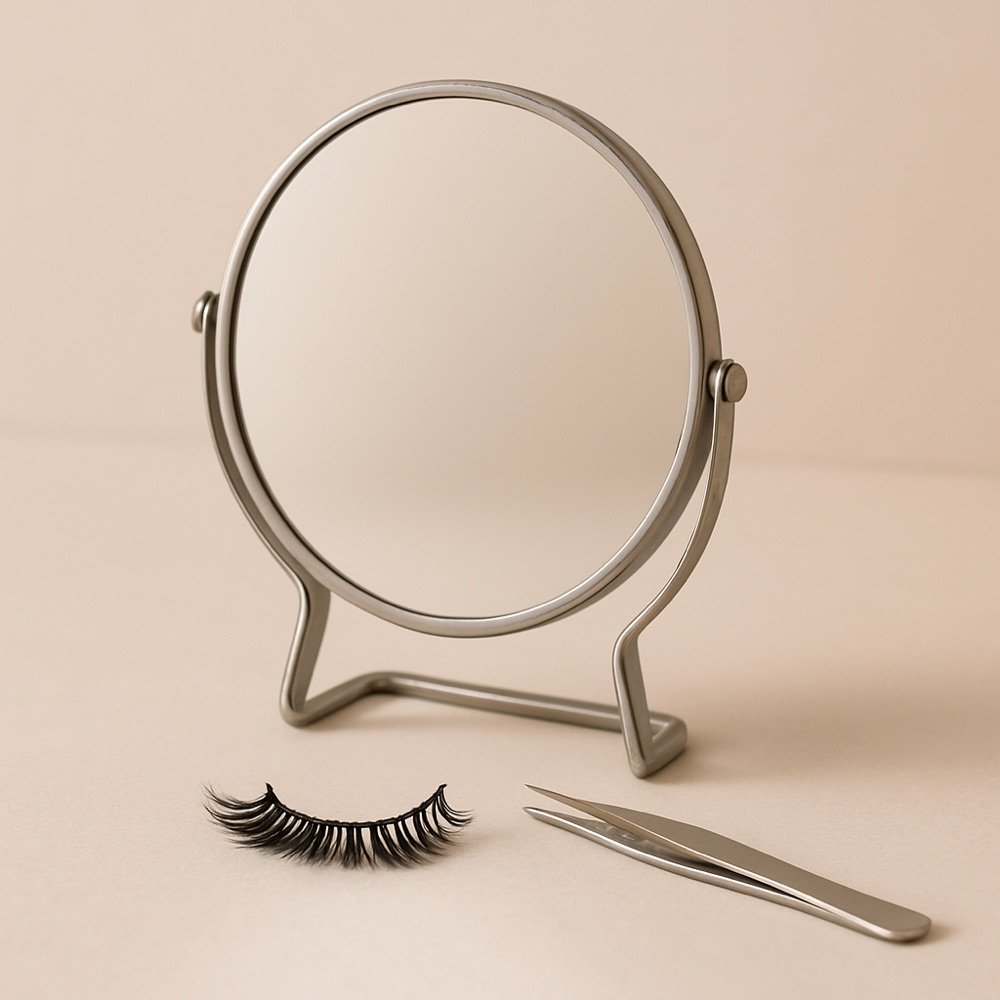
Practice applying your starter lashes at least once before you need them for a specific event or occasion. A calm first attempt, with no time pressure, is far more useful for building comfort than trying a brand-new product for the first time right before you need to leave the house. Expect the first one or two attempts to take longer than later ones -- that's normal, not a sign you're doing something wrong.
What you don't need yet
It's easy to over-shop when starting out. A few things that are genuinely optional for a first kit: multiple lash styles at once, a dedicated storage case (useful, but not essential until you're reusing lashes regularly -- see our cleaning and reuse guide when you get there), and specialty tools like magnetic liner systems, which are worth exploring only after you're comfortable with a basic glue-and-strip routine.
Building confidence over the first month
Most of the visible improvement in false-lash application happens within the first several attempts, not the first one. It's common to feel like the process is slow or fiddly at first and then notice, almost suddenly, that placement has become close to automatic after a handful of practice sessions. Rather than judging your starter kit -- or your own skill -- based on a single attempt, give yourself a few low-stakes tries at home before drawing conclusions about whether a particular style or tool works for you.
Keeping a simple mental note of what went wrong each time (glue applied too thick, band trimmed too short, placement too far from the root) is more useful than starting from scratch each time. Small, specific adjustments compound quickly into a smoother routine.
When to expand your kit
Once your starter routine feels comfortable -- typically after several successful applications -- it's a reasonable time to start exploring beyond the basics. That might mean trying cluster lashes for more customizable density, experimenting with a bolder style for a specific occasion, or adding a storage case if you're now reusing the same pair multiple times. There's no fixed schedule for this; let your own comfort level with the fundamentals guide when it makes sense to add complexity.
Setting a realistic starter budget
A basic starter kit -- one beginner-friendly lash style, one adhesive, and one applicator tool -- is generally one of the more affordable ways to try false lashes, since none of the individual pieces need to be premium to get useful practice in. It's reasonable to treat your very first purchase as a learning investment rather than a long-term commitment: if a specific band shape or adhesive doesn't suit you, that information is valuable even if the product itself doesn't become a repeat purchase.
Avoid the temptation to buy several different styles and tools all at once before you've tried any of them. Starting narrow and expanding based on what you actually like in practice tends to produce less wasted spending than starting broad.
Browse our recommended products
Our featured picks refresh periodically. While we update them, our editorial guides can help you find the right pick.
See our guidesA quick starter kit checklist
- One beginner-friendly strip lash style with a thin, flexible band
- One clear, moderate dry-time lash adhesive (latex-free if you have sensitivities)
- Fine-tip tweezers or a precision applicator
- Small curved lash scissors for trimming to fit
- A small mirror positioned for a slightly downward viewing angle
That's a complete, functional starter kit. Everything else covered elsewhere in our guides section -- storage cases, magnetic systems, specialty styles -- is worth adding only once these basics feel comfortable.
Adjusting your starter kit to your goal
If your primary goal is a quick everyday routine, prioritize a lightweight strip lash and a fast-tacking adhesive so your whole routine stays short. If your goal is a single special-occasion look, you have more flexibility to choose a fuller style or spend a bit more time on cluster placement, since speed matters less than getting the exact look you want for that one event. And if your main interest is reusability and long-term value, prioritize a sturdier band and invest a little more in a proper storage case from the start, rather than treating it as a later upgrade.
Questions first-timers often have
New shoppers often have a few recurring questions before their first purchase: whether a single pack is enough to start (yes, for most people), whether professional-looking results require professional-grade products (no, technique and fit matter more than price point), and whether false lashes are supposed to feel completely unnoticeable (some awareness of the band or clusters is normal, though sharp discomfort is not). Keeping expectations grounded in these basics tends to make the first purchase and first application far less stressful than approaching it as something that needs to be perfect on the first try.
Building a starter kit as a gift
If you're putting together a starter kit for someone else, favor the same beginner-friendly choices covered in this guide over a style you personally find dramatic or advanced, since the recipient will likely be learning application from scratch. Including a short printed note with basic steps, or a link to a guide like this one, is more useful to a beginner than an assortment of advanced tools they don't yet have context to use.
Whether you're building a kit for yourself or someone else, the same underlying principle applies: fewer, well-chosen basics beat a large assortment nobody has tested yet. A simple, working starter kit gives a far better first impression of false lashes than an overwhelming box of options.
If you take one thing away from this guide, let it be this: comfort and confidence come from repetition with a simple, well-matched setup, not from buying every accessory available on your first trip. Start small, practice a few times, and expand only once the basics feel automatic.
From here, our full guides library covers everything from trimming and cleaning to style-specific advice, so you can keep building on this starter foundation at your own pace.