Why trimming matters
Most strip false lashes are manufactured to a standard width that doesn't perfectly match every eye. A strip that's too long can press uncomfortably into the inner or outer corner, lift away from the lash line, or poke the eye at the outer edge. Trimming to your specific eye width before applying adhesive is one of the simplest changes that improves both comfort and how natural the finished look appears.
Measuring your eye before cutting
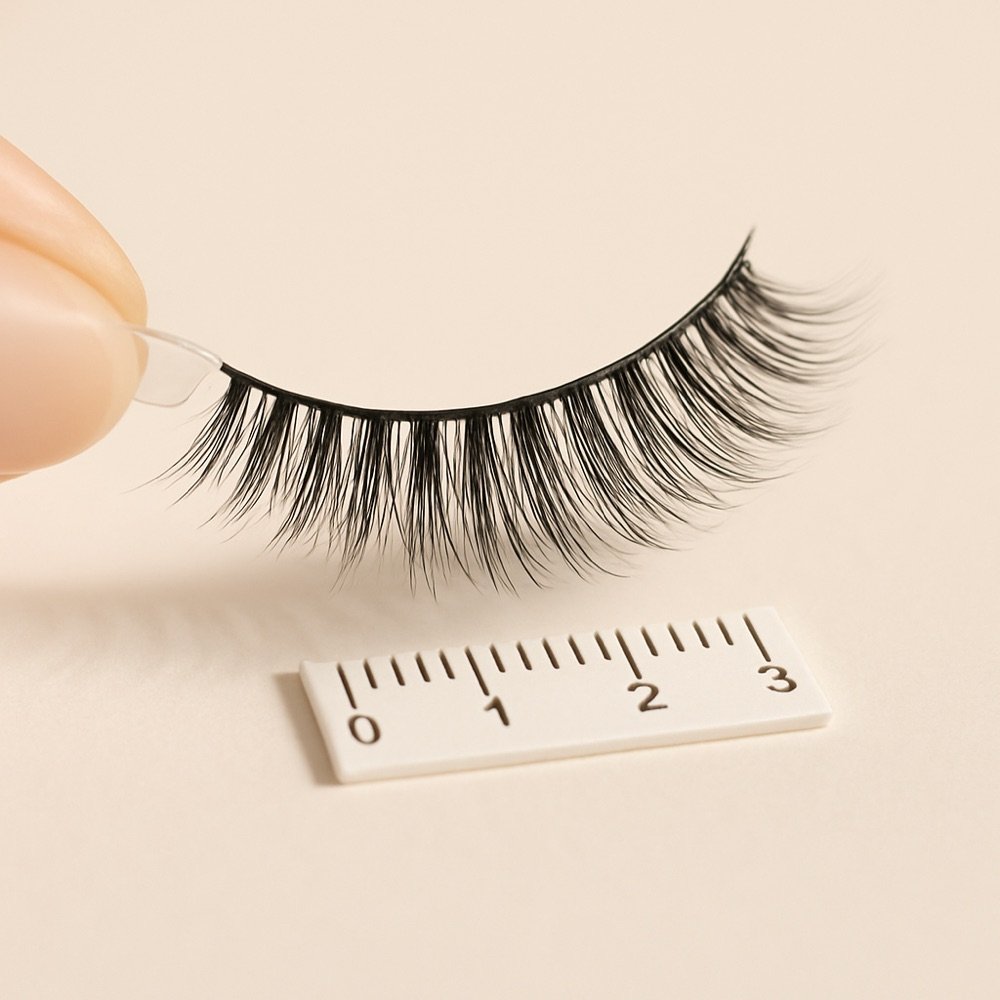
Hold the strip lash directly against your closed or lightly opened eye, lining up the inner edge of the band with the inner corner of your lash line. Note where the band extends past your outer corner -- that excess is what you'll trim away. Do this for each eye separately, since natural asymmetry between eyes is common and each strip may need a slightly different amount removed.
Which end to trim
Almost all trimming should happen at the outer end of the strip, not the inner end. The inner corner of most lash bands is already designed with shorter fibers meant to sit close to the tear duct; cutting there risks removing the band's structural taper. The outer end is where excess length usually needs to be removed to avoid the strip extending past your natural lash line.
Step-by-step trimming
- Measure the strip against your eye as described above, and mark mentally (or with a very light pinch) where the excess begins at the outer end.
- Using curved lash scissors, cut through the band itself at that point -- not just the fibers, but the band, so the cut edge stays clean.
- Test-fit the trimmed strip against your eye again before applying adhesive, since it's easier to trim a little more than to undo an overly aggressive cut.
- Repeat for the second eye, measuring independently rather than assuming both strips need identical trimming.
Browse our recommended products
Our featured picks refresh periodically. While we update them, our editorial guides can help you find the right pick.
See our guidesTools to use (and avoid)
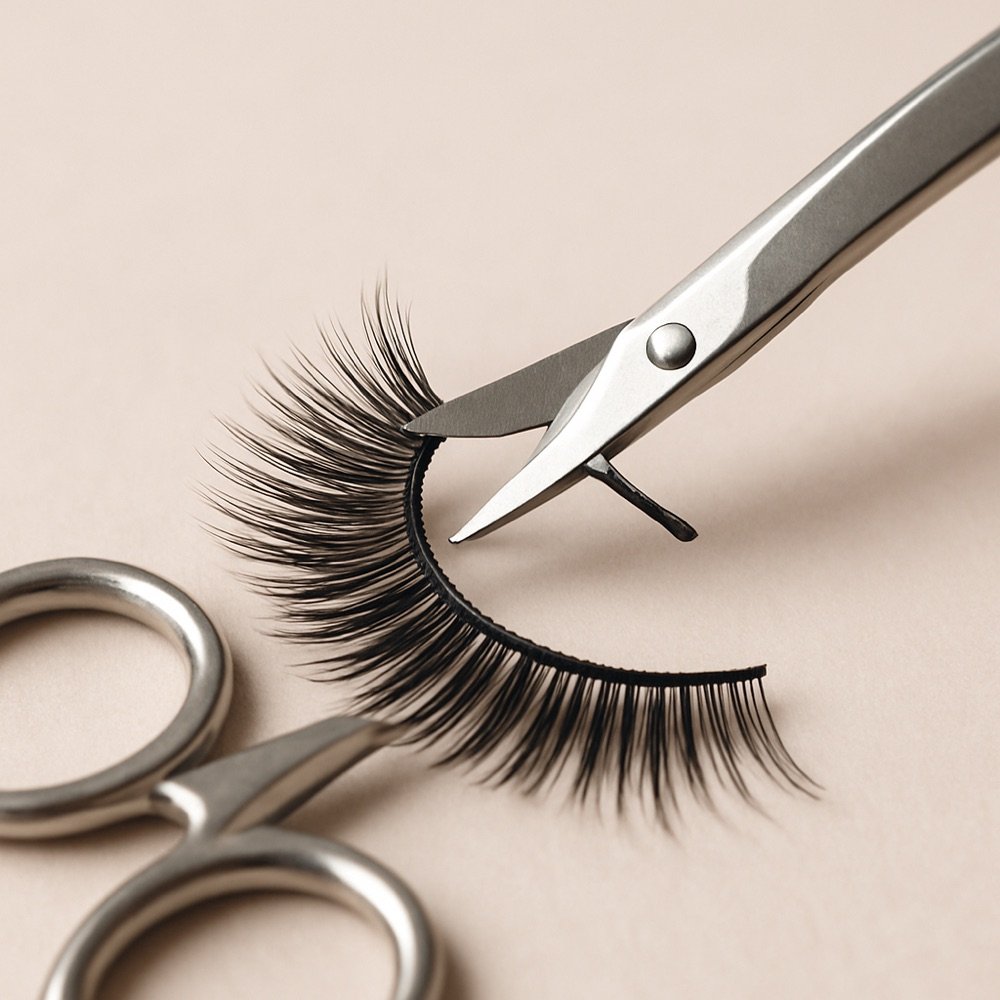
Small curved lash scissors, sized specifically for this task, give more control than standard household scissors, which are often too large to make a precise, clean cut on a small lash band. See our glue and tools hub for general tool buying guidance.
Mistakes to avoid
- Trimming from the inner corner, which can remove the band's intended taper and shorten overall wear comfort.
- Cutting too much at once without a test-fit in between -- trim conservatively and re-check.
- Using dull or oversized scissors, which can crush fibers near the cut rather than cleanly separating them.
- Assuming both eyes need identical trimming, when natural eye-width differences are common.
Trimming for length vs trimming for width
Trimming the band itself, as covered above, adjusts overall width to match your eye. A separate consideration is trimming individual fiber length, which some wearers do to soften an overly dramatic look rather than to fix fit. If you want to shorten fiber length rather than band width, snip small amounts from the very tips of the fibers rather than the base, and work gradually -- fiber trims are permanent and can't be undone, unlike a band that's simply been shaped to fit.
These two types of trimming solve different problems: band-width trimming is almost always necessary for a comfortable fit, while fiber-length trimming is optional and purely a styling choice.
After trimming: checking the fit again
Once you've trimmed a strip to width, do one more full test-fit before applying any adhesive. Hold the trimmed strip against your closed eye and confirm the inner and outer edges align comfortably with your natural lash line, with no excess extending past the outer corner and no awkward gap at the inner corner. This final check takes only a few seconds but catches most fit issues before they become a rushed problem mid-application, when adjusting is far more difficult.
Do cluster lashes ever need trimming?
Cluster lashes are typically pre-sized per cluster and don't usually need width trimming the way a full strip does, since you're placing several small pieces rather than fitting one continuous band. That said, if an individual cluster feels too long or dense for a specific spot along your lash line, the same fiber-tip trimming approach described above can be used to shorten a single cluster before placing it. See our cluster application guide for the full placement process.
Browse our recommended products
Our featured picks refresh periodically. While we update them, our editorial guides can help you find the right pick.
See our guidesSaving the pieces you trim off
Don't discard the small end pieces trimmed from a strip lash -- they can often be repurposed as individual clusters or accent pieces, especially for filling a gap near the inner corner or adding subtle extra density at the outer corner. Keep trimmed pieces in a small, clean container rather than tossing them, since they can save you from needing a full separate cluster pack for small touch-up jobs.
Trimming with your eye shape in mind
Beyond simply matching total width, where you trim from can be adjusted slightly based on your eye shape and desired effect. If you're aiming for a subtle cat-eye lift, consider trimming a touch more from the inner-corner side of the excess (while still primarily working from the outer end, as described above) so the remaining length is weighted more toward the outer corner. If you have hooded eyes and want length to stay visible when your eyes are open, avoid trimming away outer-corner length even if it looks slightly long when your eyes are closed, since that's often the section that remains visible once you're looking straight ahead -- see our hooded eyes guide for more on this.
Practicing on an older pair first
If you're nervous about trimming a brand-new pair of lashes, practice the technique on an older, less precious pair first, or even a low-cost pair bought specifically for practice. Getting a feel for how much a small cut actually removes, and how the scissors handle the band material, builds confidence before you're working with a pair you're planning to wear somewhere specific. This is a small step, but it removes most of the anxiety that leads to overly cautious, uneven trims on a pair that actually matters to you.
Quick recap
- Measure each eye separately against the closed lid.
- Trim from the outer end of the band, not the inner corner.
- Use small curved scissors and cut the band itself cleanly.
- Test-fit again before applying adhesive.
- Save trimmed pieces for future touch-ups.
Trimming is a small step, but it's one of the few adjustments entirely within your control regardless of which specific lashes you buy, and it tends to make the biggest difference in comfort of anything covered in this guide.
If you're still building your full application routine, pair this guide with our buying guide and starter kit guide for a complete beginner-friendly path from purchase to a comfortable, well-fitted finished look.
Trimming is also worth revisiting any time you try a new brand or style, even if you've trimmed lashes comfortably before -- band width, curve, and material can all vary from one manufacturer to the next, so a measurement that worked for one pair may not carry over exactly to a different product. Treat each new style as its own quick fitting exercise rather than assuming a previous trim will transfer directly.
With measuring, trimming, and a final fit check as your routine, you'll spend less time fighting an ill-fitting band and more time enjoying a comfortable, natural-feeling finished look, wear after wear.
Keep your scissors clean and dry between uses, and store them separately from other household scissors so the fine tip stays sharp specifically for lash work.