Before you start
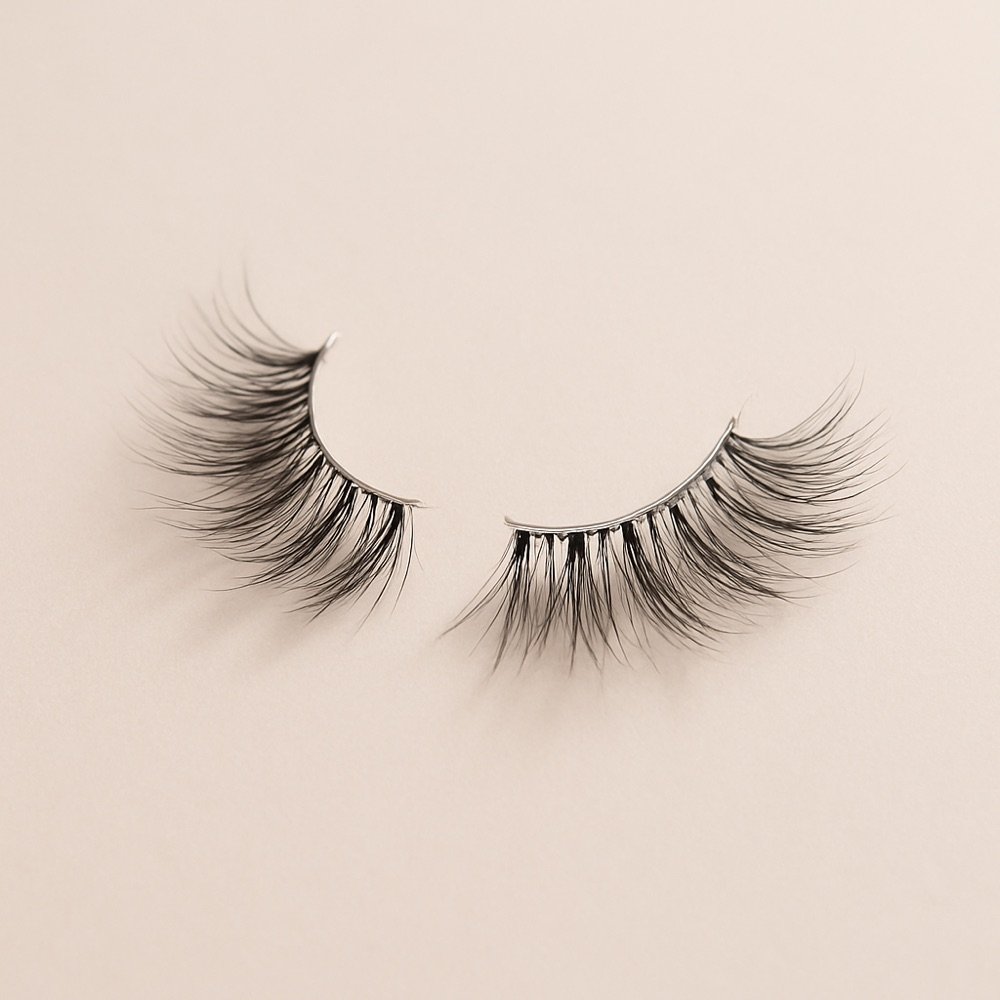
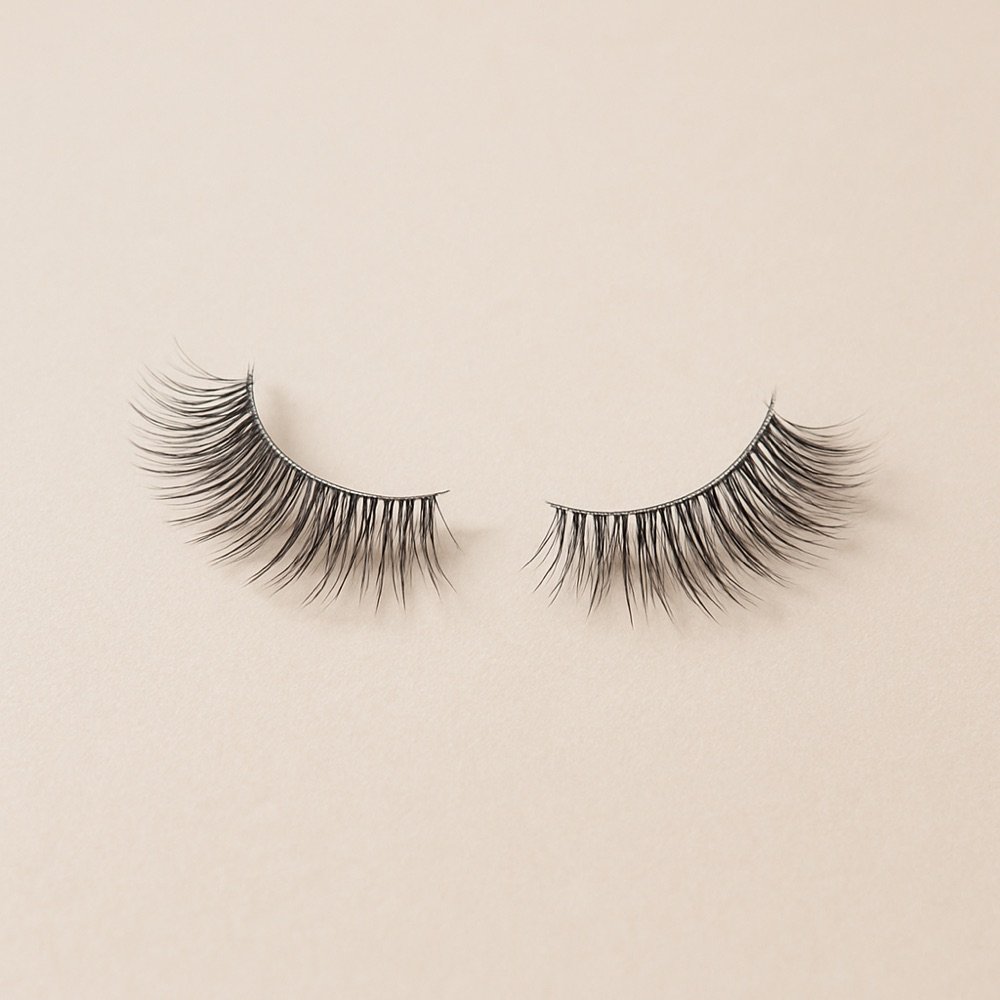
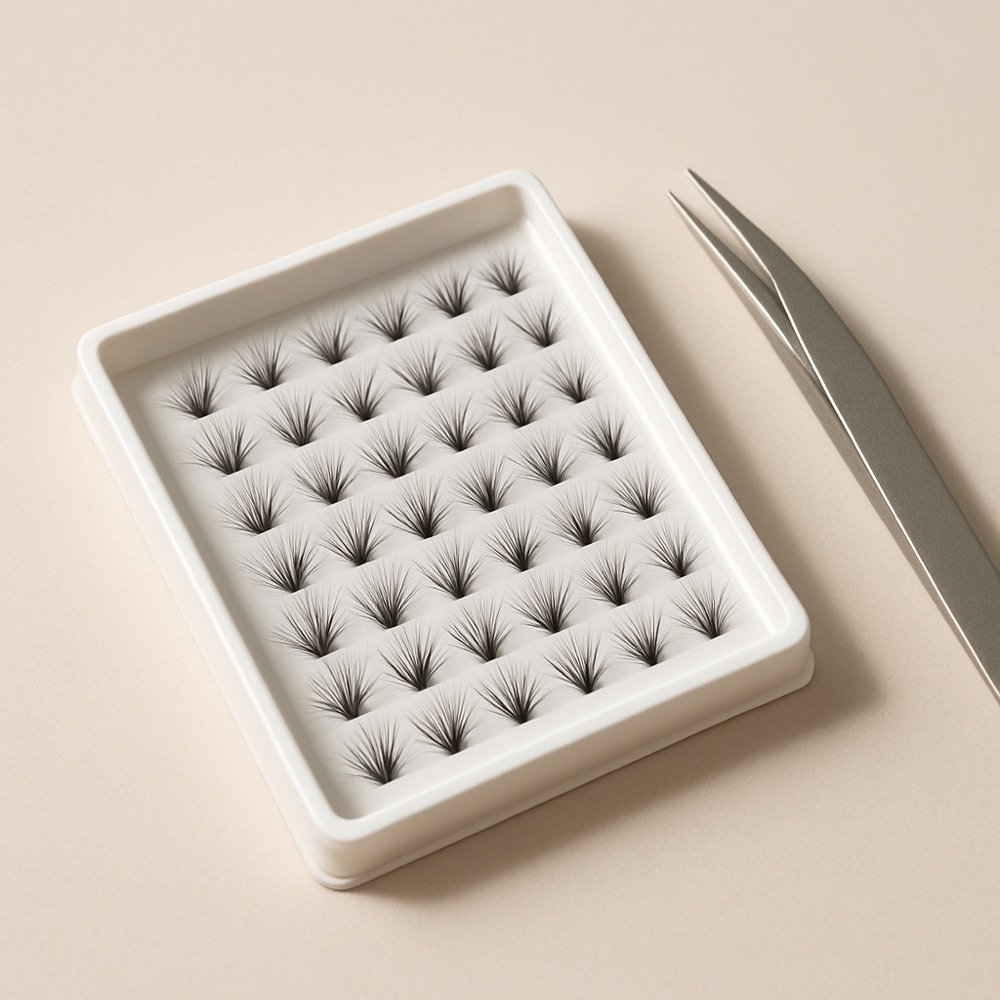
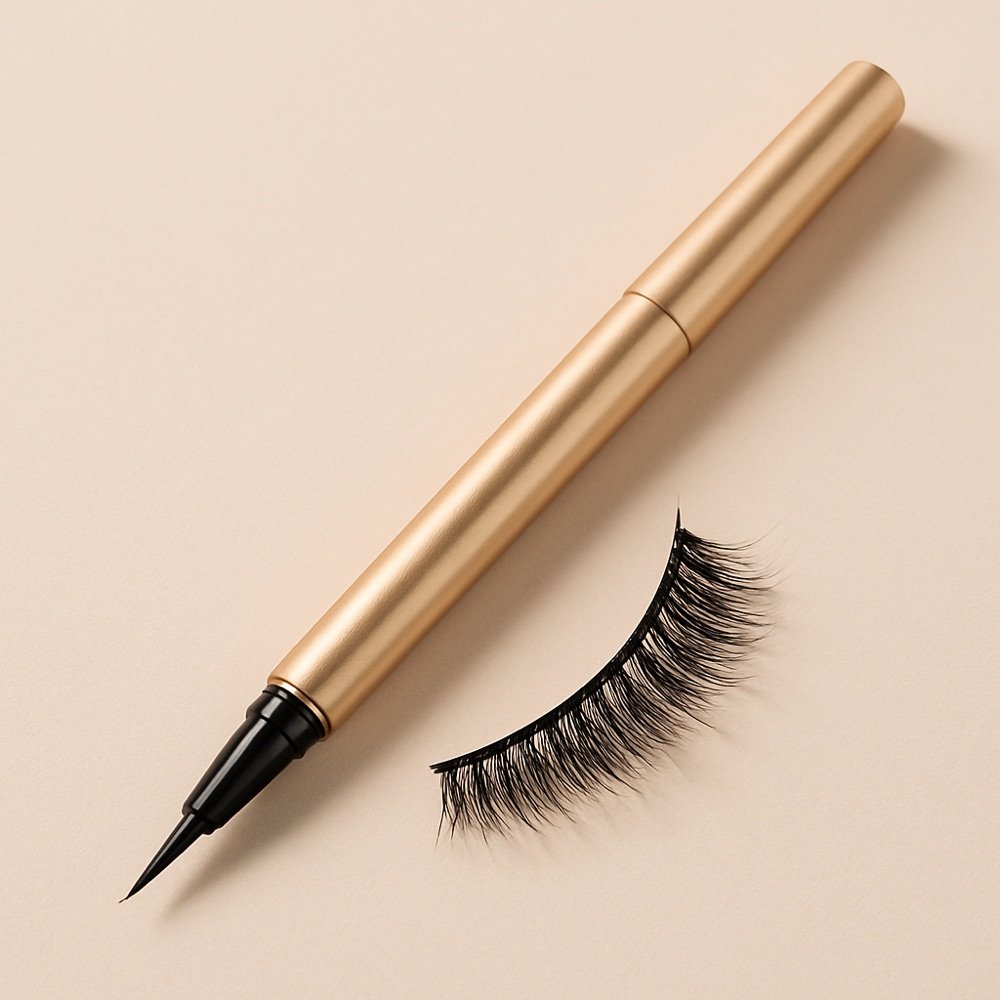
You need a pair of strip lashes, a lash glue you can see going on, tweezers or an applicator, small curved scissors and a mirror. Patch-test the glue on your inner arm 24 to 48 hours beforehand, and read the maker's directions. This guide covers strip lashes. For clusters, see how to apply cluster lashes; for no-glue options, see the magnetic lashes guide.
Step by step
- Measure. Hold the strip along your lash line. If it passes your outer corner, mark where; see how to trim false eyelashes.
- Curve the band. Bend the strip gently around a pencil or your finger so it follows your eye.
- Add glue. Apply a thin line along the band and wait until it turns tacky. This takes a few seconds, depending on the glue.
- Place the centre. Look down into a mirror, set the middle of the band close to the lash line and press.
- Press the corners. Place the outer end first, then the inner end, never onto the skin.
- Blend. Close your eye, press the band lightly and add liner or mascara if you like.
Common mistakes and fixes
| What happened | Cause | Fix |
|---|---|---|
| Corners lift | Band too long or glue not tacky | Trim the band; wait for the glue |
| Lash feels heavy | Length too long for your eye | Pick a shorter style or trim fibres' tips |
| Gap at the lash line | Placed too far from your lashes | Re-press along the line with tweezers |
| Glue shows | Too much glue | Use a thin line, wipe excess with a cotton bud |
| Looks uneven | Strips not measured separately | Trim each side to its eye |
Strip type matters
| Type | Good for | Note |
|---|---|---|
| Clear band | Natural looks | Blends at the lash line |
| Black band | Liner looks | Easier to see while placing |
| Half or accent | Outer-corner lift | Needs careful placement |
| Full strip | Even coverage | Trim to fit |
Unsure about style? Try the lash map and the lash styles gallery.
Taking them off and storing them
Remove with a lash remover, lifting from the outer corner; never pull. See how to remove lash glue. Clean the band and store in the tray.
Application tips for different eyes
On hooded eyes, check your placement with your eyes open and look for a slight lift at the outer corner; see how to apply lashes on hooded eyes. On small or round eyes, a shorter strip with a trimmed inner end sits more comfortably. If you wear glasses, keep length moderate so the lashes do not brush the lens; see false lashes for glasses.
| Choice | What it means | Often chosen for |
|---|---|---|
| Clear band | A thin transparent band | Blending at the lash line with little liner |
| Black band | A dark band that reads as liner | Dramatic looks and an easier-to-see placement |
| Full strip | Covers the whole lash line | An even, complete look |
| Half strip | Covers the outer half only | Lifting the outer corner lightly |
Practice before the big day
Do a dry run a day or two beforehand. Trim, place without glue and check the fit with your eyes open. Then you will know what to expect when it counts, and you have time to swap a style that does not suit you.
Step by step: strip lashes
- Do your eye makeup first, then curl your own lashes.
- Measure the strip against your lash line and trim the outer end. See how to trim false eyelashes.
- Bend the band gently around a finger or the end of a pencil so it follows the curve of your lid.
- Add a thin line of glue along the band and wait until it turns tacky.
- Place the centre first, then the outer corner, then the inner corner.
- Press and hold for a few seconds, then blend the lash line with a little liner.
How each type differs
| Type | Where it goes | Adhesive | Main tip |
|---|---|---|---|
| Strip | Along the upper lash line, at the base | Strip lash glue | Wait for the glue to go tacky |
| Cluster | Under your natural lashes | Bond and seal | Start at the outer corner |
| Magnetic | Along a magnetic liner line, or paired around your lashes | Magnetic liner or paired magnets | Thin liner line, wait to set |
| Half lash | Outer half of the lash line | Strip lash glue | No trimming needed |
Clusters and magnetic sets have their own guides: how to apply cluster lashes and how to apply magnetic lashes.
Mistakes and how to fix them
| Problem | Likely cause | Fix |
|---|---|---|
| Corners lift | Band too long or glue still wet | Trim the outer end; wait for tacky glue |
| Visible gap above the lash | Placed too high on the lid | Press the band into the base of your lashes |
| Lash feels heavy | Too long or too full | Go one step shorter or use a half lash |
| Glue shows white | Too much glue | Use a thin line and let it dry clear |
| Band pokes out at the inner corner | Not trimmed | Trim the inner end or shorten the band |
Comfort tips are in how to make false lashes more comfortable.
What to have ready
Set up before you start: good light, a mirror at eye level, tweezers or an applicator, your glue and a remover for mistakes. If you are new to this, begin with a natural-style strip and a clear glue and practise on a day you are not in a hurry. When you are done, see how to remove false eyelashes and how to clean and reuse them.
Patch-test any new glue on your inner arm 24 to 48 hours first, keep adhesive out of your eye, and stop if you notice stinging or redness that does not settle.
Before you press the lash on: a checklist
- Your own lashes are curled and clean.
- The strip is trimmed and bent to your lid.
- The glue is a thin line and has gone tacky.
- You have checked the placement dry, with your eyes open.
- You have a swab and remover within reach for corrections.
Pick the lashes with best false eyelashes or the starter kit guide, and plan lengths with the lash map.
If it goes wrong
If a lash lands in the wrong place, do not tug. Hold a swab with a little remover along the band, wait a few seconds for the glue to soften, lift it off, wipe the lid and start again with a fresh thin line. Most first attempts need a second try, and the second usually goes better because you now know how long your glue takes to go tacky. Keep notes if you like: how long the glue took, which corner lifted, which length felt right. Next time you will start from there.