What you'll need
Before you start, gather a few basic tools: a pack of cluster lashes, a lash adhesive suited for clusters (many strip-lash glues also work), fine-point tweezers or a dedicated cluster applicator, and a small mirror positioned so you can look slightly downward while applying. Our glue and tools hub has buying guidance if you don't already have these on hand.
Prep your lash line
Start with clean, dry, makeup-free lids, since oil and residue can weaken adhesive bonds. If you plan to wear mascara, most guidance suggests applying it before the clusters rather than after, so the clusters sit cleanly on top of your natural lashes -- our guides section covers this timing question in more detail as new mascara-focused content is added. Curl your natural lashes first if you plan to, since curling after cluster application can dislodge the clusters.
Step-by-step application
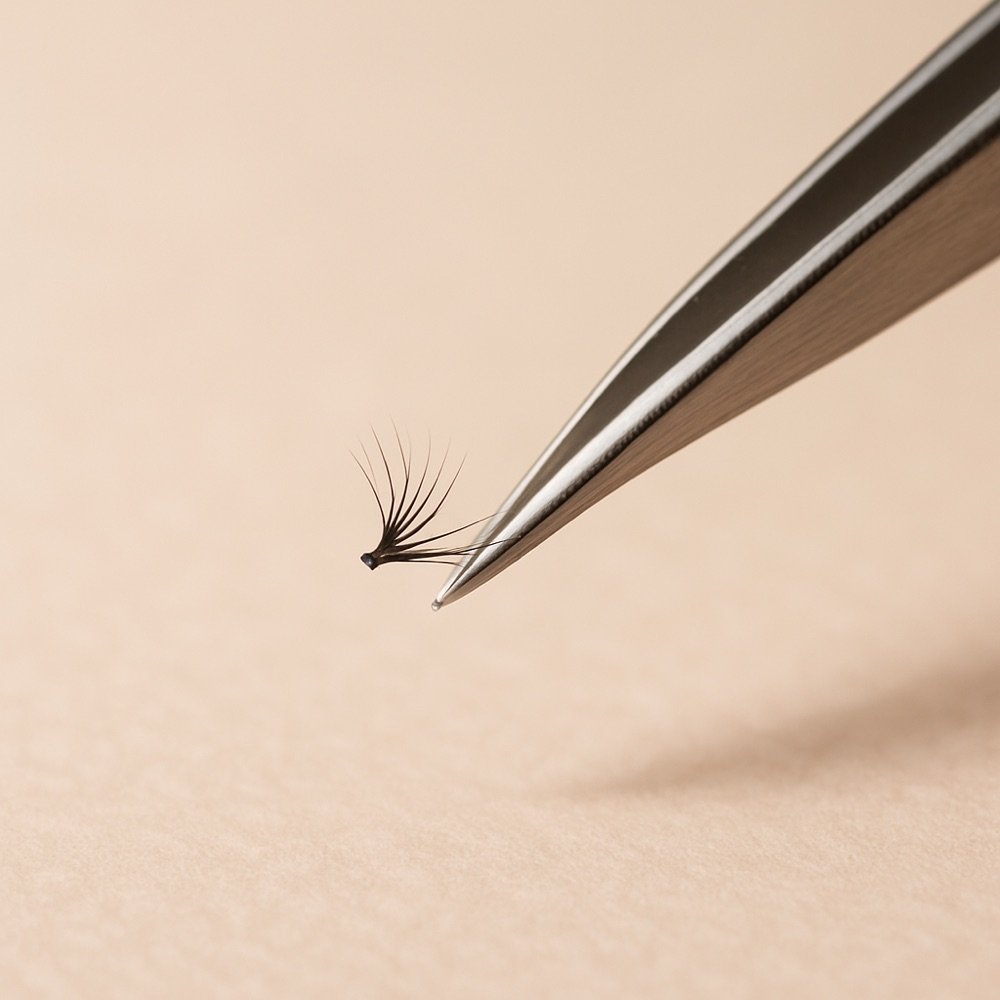
- Pick up one cluster with tweezers or an applicator, gripping it near the base (the knotted or banded end, not the tips).
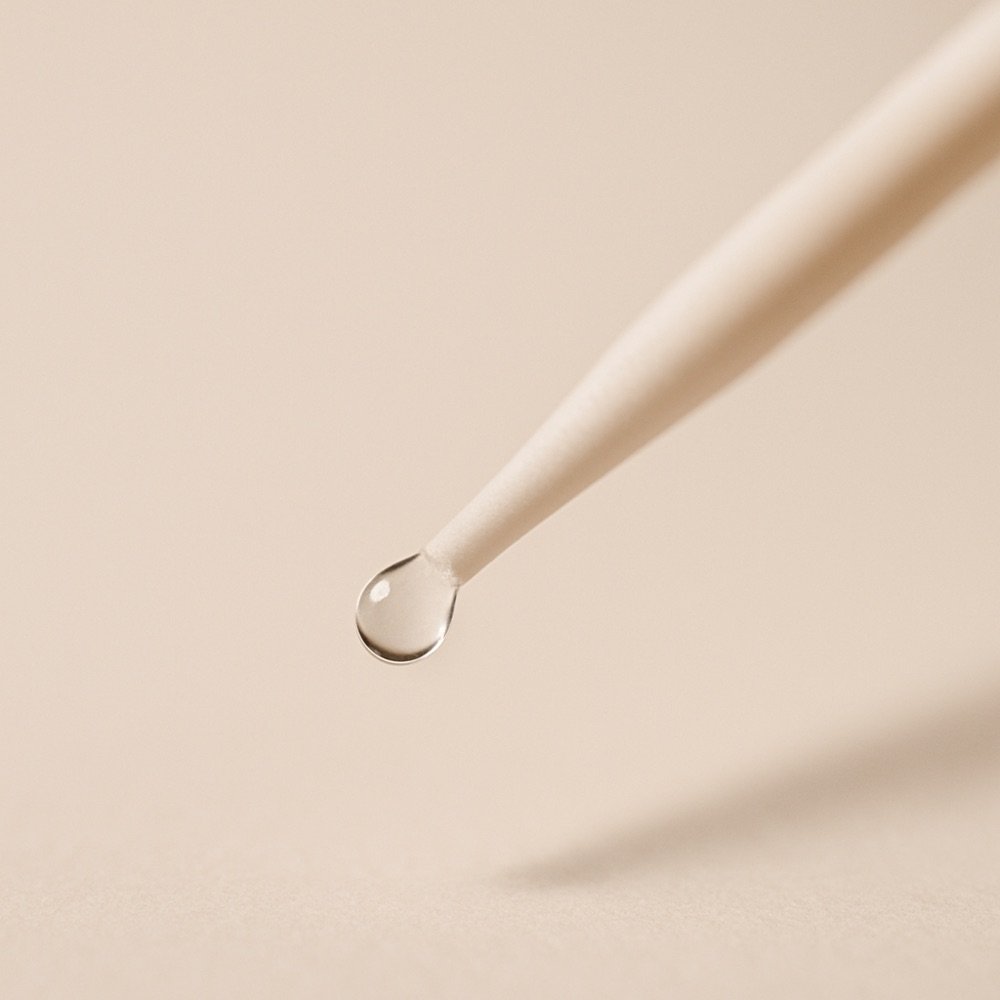
- Dip the base in a small amount of adhesive -- a dot roughly the size of the cluster base is usually enough. Too much glue causes clumping and slower drying.
- Wait a few seconds for the adhesive to turn slightly tacky before placing, which helps the cluster grip rather than slide.
- Place the cluster as close to your natural lash line as comfortable, angling it to follow the natural direction of your lashes.
- Hold briefly with the tweezers or a clean fingertip to help the adhesive set before moving to the next cluster.
- Repeat along the lash line, working from the outer corner inward or vice versa, whichever helps you keep spacing even.
Spacing and density tips
Even spacing is the difference between a polished cluster set and a patchy one. A few practical tips: place clusters at a consistent interval rather than eyeballing gaps one at a time, and step back from the mirror periodically to check the overall pattern rather than judging each cluster in isolation. For a fuller look, add clusters closer together toward the outer corner; for a subtle lift, space them further apart and use fewer overall.
Browse our recommended products
Our featured picks refresh periodically. While we update them, our editorial guides can help you find the right pick.
See our guidesCommon mistakes to avoid
- Using too much glue, which slows drying time and can make clusters slide out of place.
- Placing clusters too far from the lash line, which creates a visible gap once the adhesive sets.
- Rushing the tacky stage, applying the cluster while the glue is still too wet, which reduces hold.
- Uneven spacing, often from applying every cluster while looking straight into the mirror instead of periodically checking the full lash line from a slight distance.
If a cluster is placed incorrectly, it's usually easier to remove it while the adhesive is still tacky rather than waiting for it to fully set. See our guide on removing and reusing lashes for gentle removal steps.
Finishing touches
Once all clusters are placed and the adhesive has fully set (usually a minute or two), you can apply a light layer of mascara to blend the clusters with your natural lashes if you didn't already apply it beforehand. Avoid heavy eye rubbing right after application, since the adhesive is still building its full hold in the following hour.
Adjusting density for different looks
One advantage of applying clusters yourself is that you control exactly how full or subtle the final result looks, rather than being locked into a single fixed design. For a natural daytime look, try spacing clusters further apart and choosing shorter lengths concentrated toward the outer corner. For a fuller evening look, place clusters closer together across the whole lash line and consider layering a second, shorter cluster underneath a longer one in a few spots for extra texture.
It's easier to add clusters to an existing set than to remove and reposition ones you've already placed, so when in doubt, start with fewer clusters than you think you need and build up gradually while checking your reflection at a slight distance, not just up close.
How practice changes application time
A first attempt at a full set of cluster lashes can reasonably take fifteen to twenty minutes or more, which can feel discouraging if you're expecting a much faster process based on a quick demonstration video. This is normal. With repetition, most people find their timing improves substantially, since the slowest parts of the process -- picking up a single cluster cleanly, judging the right amount of adhesive, and getting consistent spacing -- all become quicker with practice.
If you're planning to wear cluster lashes for a specific event, it's worth doing at least one full practice run beforehand rather than attempting the technique for the first time right before you need to leave the house.
Browse our recommended products
Our featured picks refresh periodically. While we update them, our editorial guides can help you find the right pick.
See our guidesTweezers vs a dedicated applicator
Fine-tip tweezers give the most precision, since the narrow tip lets you grip a cluster right at its base without touching the adhesive-laden edge with your fingers. A dedicated cluster applicator, often shaped like a small clamp or curved tool, can be easier for beginners to hold steady, since the wider grip surface is more forgiving than a thin tweezer handle. Neither tool is strictly better -- many experienced wearers eventually settle on tweezers for speed, while newer wearers often find an applicator less intimidating for the first several attempts.
When something goes wrong mid-application
If a cluster sticks to the wrong spot, drops before you can place it, or ends up crooked, it's almost always fixable without starting over completely. While adhesive is still tacky, you can usually lift a misplaced cluster with tweezers and reposition it. Once adhesive has fully set, forcing a cluster off can damage both the cluster and your natural lashes -- in that case, it's often better to leave a slightly imperfect placement as-is and adjust with an additional cluster nearby rather than risk pulling at a set piece.
Choosing cluster lengths for different sections
Many cluster packs include a mix of lengths in one tray, which is intentional -- shorter clusters are meant for the inner corner, medium lengths for the center, and longer clusters for the outer corner, mimicking how natural lash length typically varies across a real lash line. Before starting application, take a moment to sort clusters roughly by length so you're not searching through the tray mid-application. Placing the wrong length in the wrong section is one of the more common reasons a finished set looks slightly uneven despite careful placement technique.
Same-day aftercare
In the hours right after application, avoid activities likely to stress fresh adhesive -- vigorous exercise, steamy showers, or extensive eye-area touching. The adhesive continues building toward its full hold for a while after it initially sets, and giving it that time undisturbed generally results in a more secure, longer-lasting placement for the rest of the day.
With these steps, spacing tips, and troubleshooting notes in mind, most beginners can expect a reasonably even, comfortable cluster set within their first few attempts, even if the very first try takes longer than later ones.
If you're deciding between clusters and a full strip lash for your next application, our strip vs cluster comparison covers that decision directly, including which format tends to suit different goals and time budgets.
With a little practice, cluster application becomes one of the more flexible tools in a false-lash routine, letting you adjust density and shape on the fly in a way a fixed strip design simply can't match.