
Free tool
Cluster lash map
A ready-made plan for six clusters per eye, with the length, curl and order for each one. Change anything and it updates.
Almond eyes, wispy style, medium lengths, C curl, 6 clusters per eye
| Zone | Where | Length | Curl | Place |
|---|---|---|---|---|
| 1 | Inner corner | 8 mm | C | #6 |
| 2 | Inner-centre | 12 mm | C | #5 |
| 3 | Inner-centre | 10 mm | C | #4 |
| 4 | Centre | 13 mm | C | #1 |
| 5 | Outer-centre | 11 mm | C | #2 |
| 6 | Outer corner | 13 mm | C | #3 |
Strip lash trim guide
- Hold the strip along your lash line (no glue) and note where your lash line starts and ends.
- If the band runs past your outer corner, trim from the outer end, never the inner end, so the shortest lashes stay at the inner corner.
- Choose a strip whose longest lashes sit near zone 4 of 6, where this map peaks at 13 mm.
- Check the fit again before adding glue, and let the band bend to your lid instead of forcing it flat.
A starting point you can adjust. Maps are styling conventions, not measurements: keep lengths within about 2 to 3 mm of your own lashes.
How to use this lash map
This preset is set up for DIY clusters. Each numbered badge is one cluster, in the order to place it.
Pick your eye shape and style
Choose the closest shape (the eye shape finder can help) and the look you want, such as natural, wispy or cat-eye.
Set type, length and curl
Choose clusters or strips, then short, medium or dramatic lengths and a C, CC or D curl. The tip under the controls suggests a curl for your shape.
Read the zones and place
Each zone shows a length and curl from inner to outer corner. For clusters, place #1 first. Print the map or copy the link to come back to it.
How the zones work
| Style | Inner | Centre | Outer | How it reads |
|---|---|---|---|---|
| Natural | 8 mm | 10 mm | 11 mm | Short at the inner corner, gently longer toward the outer corner. |
| Open eye | 8 mm | 10 mm | 8 mm | Balanced: the longest lashes sit in the centre and taper at both corners. |
| Wispy | 8 mm | 10 mm | 11 mm | A natural base with some sections 2 to 3 mm longer, so the lashes look feathered. |
| Cat-eye | 9 mm | 11 mm | 13 mm | Lengths build toward the outer corner for a swept-out line. |
| Doll | 9 mm | 12 mm | 10 mm | The longest lashes sit in the centre of the eye, with shorter outer lashes, for a wide-awake look. |
| Squirrel | 8 mm | 11 mm | 10 mm | The peak sits just past the centre, under the brow arch, then drops at the outer corner. |
| Fox | 8 mm | 10 mm | 12 mm | A long, straight sweep to the outer corner. It is close to cat-eye but flatter through the centre. |
| Mistake | What you see | Fix |
|---|---|---|
| Long lashes at the inner corner | Lashes poke the nose side and feel heavy | Keep the inner zone around 7 to 8 mm and build up from there. |
| One flat length across the eye | A blocky, obvious fringe | Step up about 1 mm per zone toward the peak, then taper if your style needs it. |
| Curl too strong for upward-pointing lashes | Clusters stand away from your own lashes | Drop a step (D to CC, CC to C) or pick the next style. |
| Lashes much longer than your own | Droop, tugging and slipping | Stay within about 2 to 3 mm of your natural length. |
| Skipping the outer corner lift | The eye looks flat or tired at the end | Raise the last zones a step in curl, or choose cat-eye or fox. |
Next: How to apply cluster lashes.
Gear that helps
Starting points for this topic. Each link opens an Amazon search.
-
Cluster Lashes
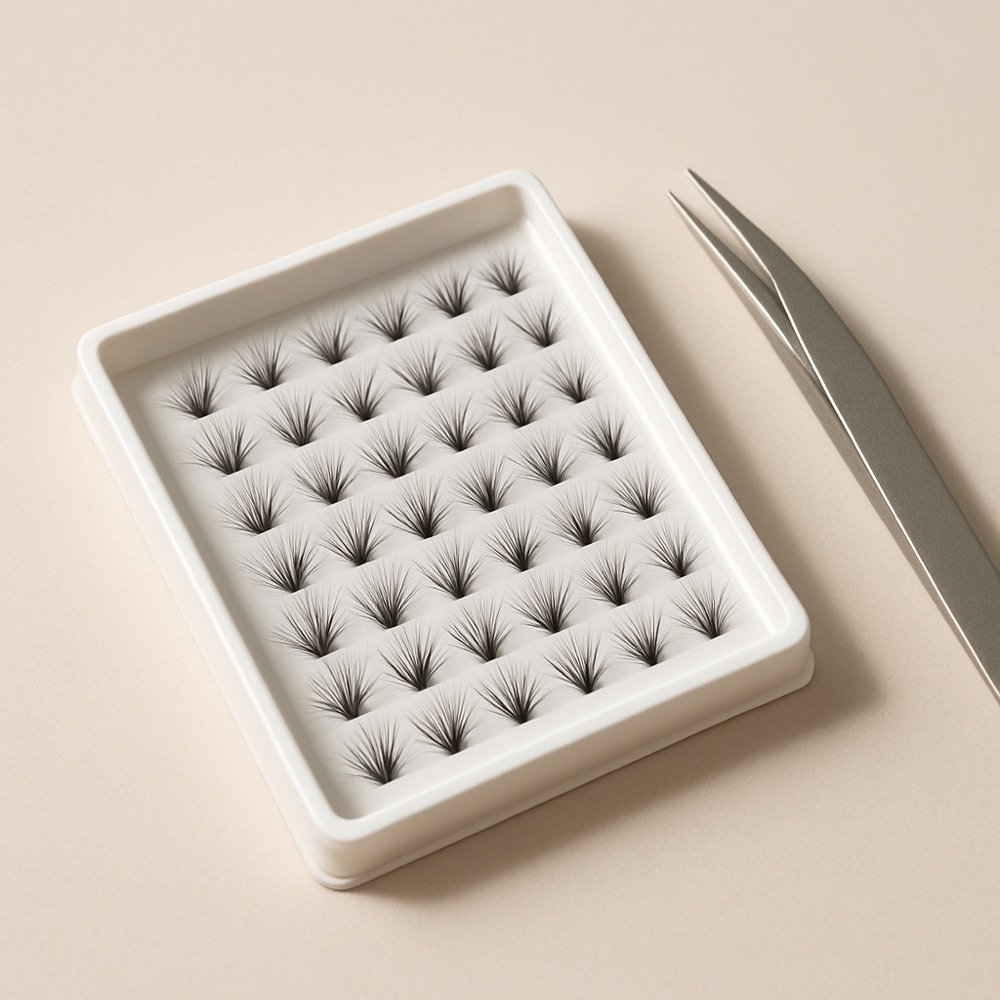
Cluster Lash Starter Set
A beginner-friendly way to try individual clusters before committing to a full strip look.
Search Amazon for Cluster Lash Starter Set -
Glue & Tools
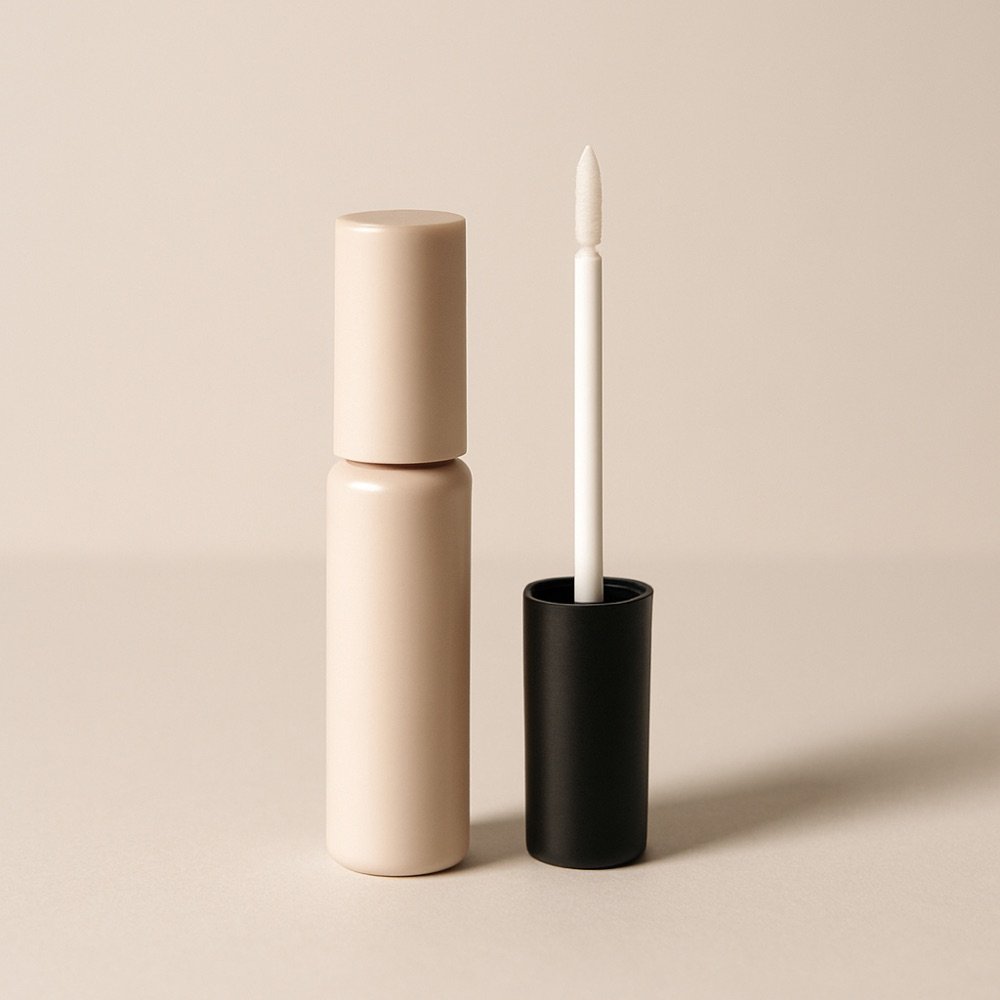
Latex-Free Lash Adhesive
A latex-free adhesive formula aimed at shoppers who want to avoid latex-based lash glue ingredients.
Search Amazon for Latex-Free Lash Adhesive -
Glue & Tools
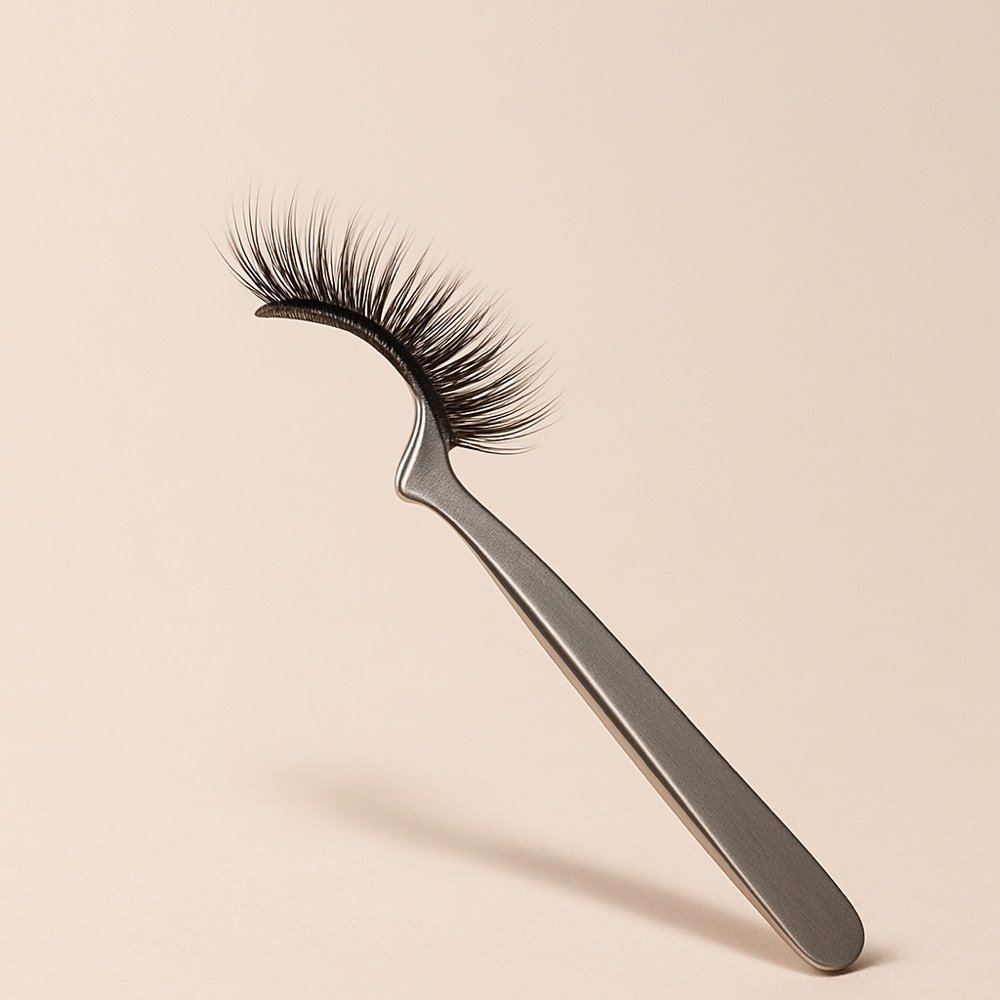
Precision Lash Applicator
A handheld applicator tool shaped to help place strip or cluster lashes closer to the natural lash line.
Search Amazon for Precision Lash Applicator -
Glue & Tools
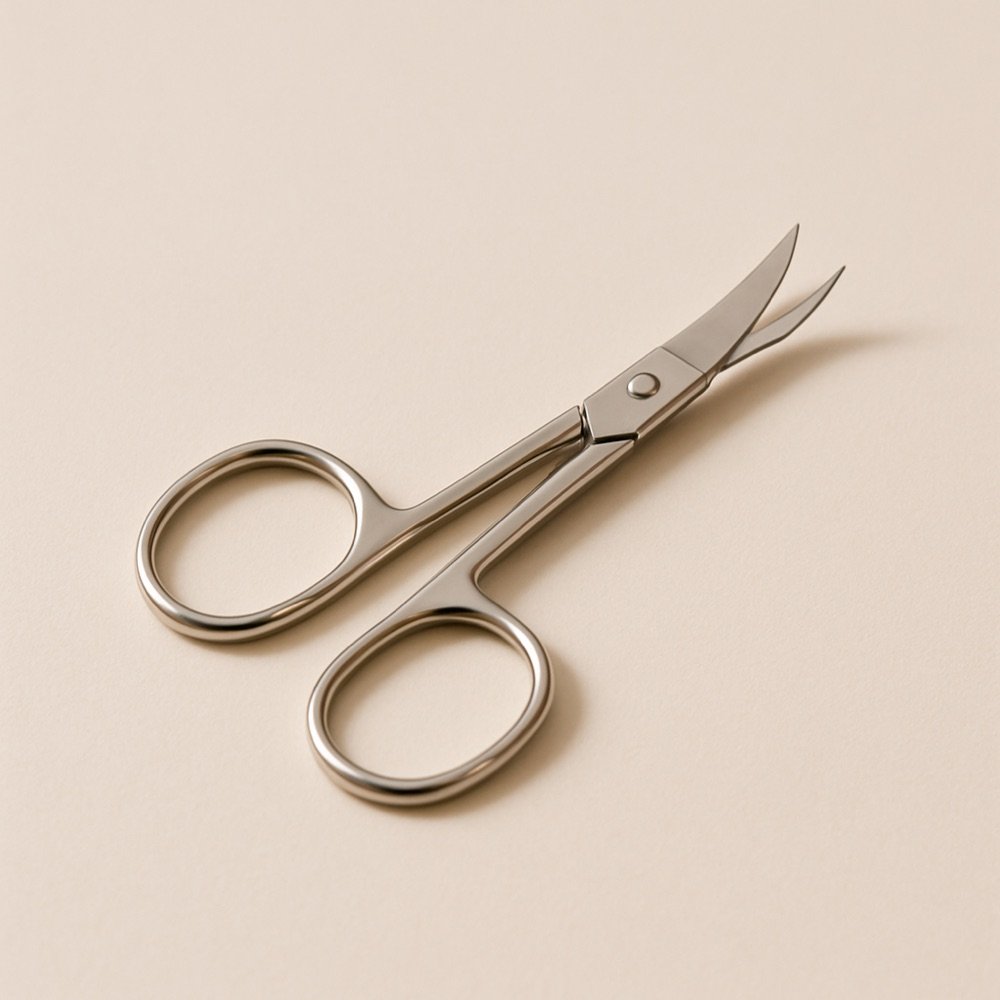
Curved Lash Scissors
Small curved scissors sized for trimming strip or cluster lashes to fit an individual eye shape.
Search Amazon for Curved Lash Scissors -
Glue & Tools
Gentle Lash Glue Remover
A dedicated remover formula designed to loosen lash adhesive without harsh scrubbing at the lash line.
Search Amazon for Gentle Lash Glue Remover -
Lash Care
Compact Lash Storage Case
A structured case designed to protect lash shape between wears, useful for shoppers who reuse lashes multiple times.
Search Amazon for Compact Lash Storage Case
As an Amazon Associate, OnlyEyelashes earns from qualifying purchases. Links open an Amazon search for the type of product described; we do not show prices or ratings. Details.
Frequently asked questions
What is a good lash map?
A good map matches your eye shape and the look you want, builds length gradually and keeps the longest pieces near the outer corner. This preset is a plain starting point for DIY clusters that you can adjust.
How do I use lash clusters?
Pick up a cluster with tweezers, add bond to the base and place it under your natural lashes, following the numbers on the map. Our step-by-step guide covers it.
How to do lash mapping?
Measure or estimate your natural lash length, choose a length range, then assign shorter clusters to the inner corner and longer ones to the outer corner. The tool does the zone-by-zone split for you.
What is a cluster lash map?
A cluster lash map shows which cluster length and curl goes in each section of your lash line, and in what order to place them. This one uses six sections per eye.
How many clusters do I need per eye?
This map uses six per eye. Many kits suit five to seven; change the zones control to match your kit and how dense you want the look.
Which order do I place the clusters?
The numbers show one common beginner order: the centre first, then out to the outer corner, then back through the inner sections. Many people start at the outer corner instead. Use whichever feels steady.
Where do clusters sit on my lash line?
Most at-home guides place clusters close to the lash line, just beneath your own lashes. Follow your kit's directions; our cluster lash application guide walks through it.
What if my kit has different lengths?
Use the closest length you have in each zone and keep the shape of the map: shorter at the inner corner and longer toward the peak. Stay within about 2 to 3 mm of your natural lashes.
More free lash tools
Link to this tool
Share it or add it to your own page. Copy the address, or paste the HTML.
Sources and last checked
Last checked: . Lash maps, styles and curl/length guidance are styling conventions, not measurements. Every number is a starting point you can adjust.
- National Salon Supplies: Grafting lash guide (lengths, mapping, styling): Length range 6 to 16 mm; natural, cat-eye, doll-eye and squirrel maps by inner/middle/outer position; curl advice by eye shape (hooded, monolid, downturned); wispy spikes 2 to 3 mm longer; keep lengths within 2 to 3 mm of the natural lash.
- Light Heart Lash: Lash maps for beginners: Balanced five-section map (8, 9, 10, 9, 8 mm); start near 8 to 9 mm at the inner corner and rise in 1 mm steps; C curl as the beginner starting point, CC or D for a more open look.
- Divine Lashes: Eyelash extension curls explained: What J, B, C, CC, D, L and M curls look like and which natural lash direction each suits.
We checked these pages on the date above. Makers do not agree on every number, so the tool keeps to the conservative middle and says so where it matters. OnlyEyelashes covers DIY cluster and strip lashes worn at home, not salon extensions.
OnlyEyelashes is not a salon, manufacturer or medical provider, and this tool is not medical advice. Some links on this page are Amazon affiliate links; see our affiliate disclosure.