What lash glue actually needs to do
Lash adhesive has one job: hold a strip or cluster securely to the lash line for the length of wear, then let go cleanly during removal without damaging natural lashes. Beyond that basic function, differences between products mostly come down to color, ingredient list, and how quickly the adhesive becomes tacky and fully sets.
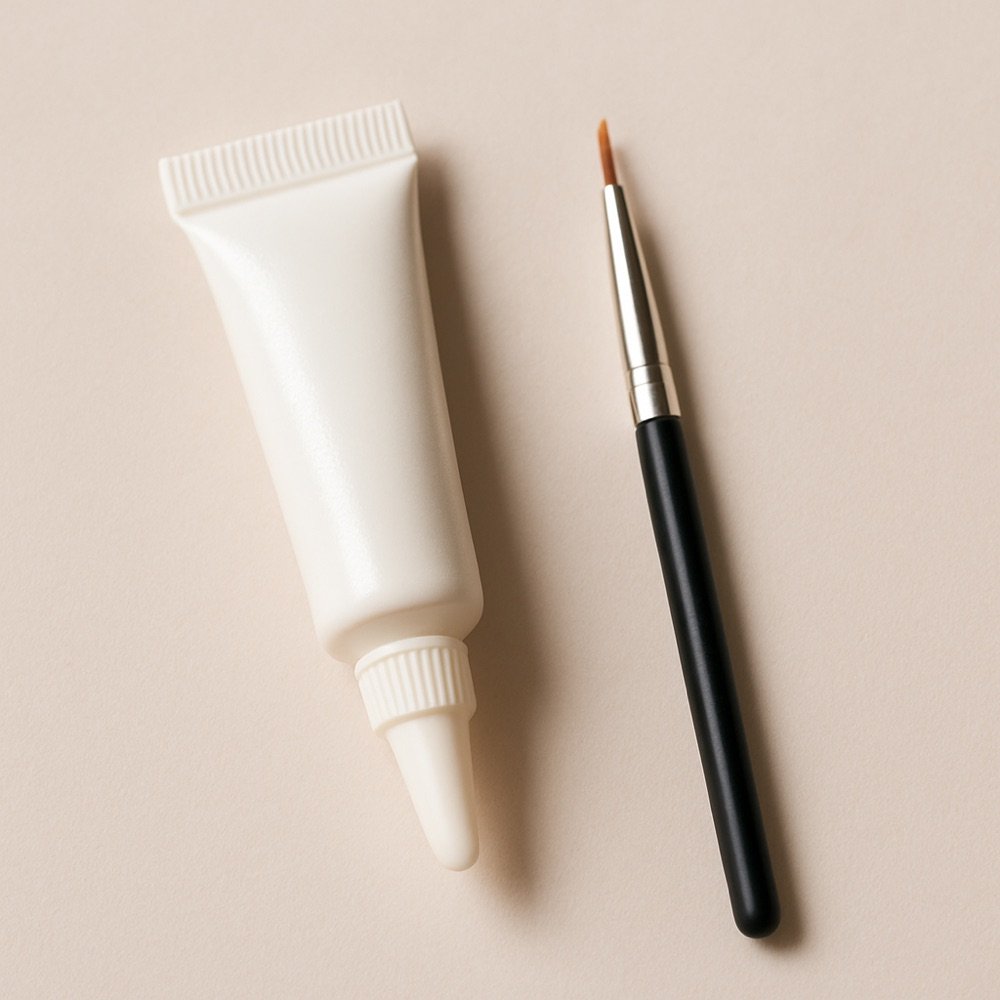
Clear vs black lash glue
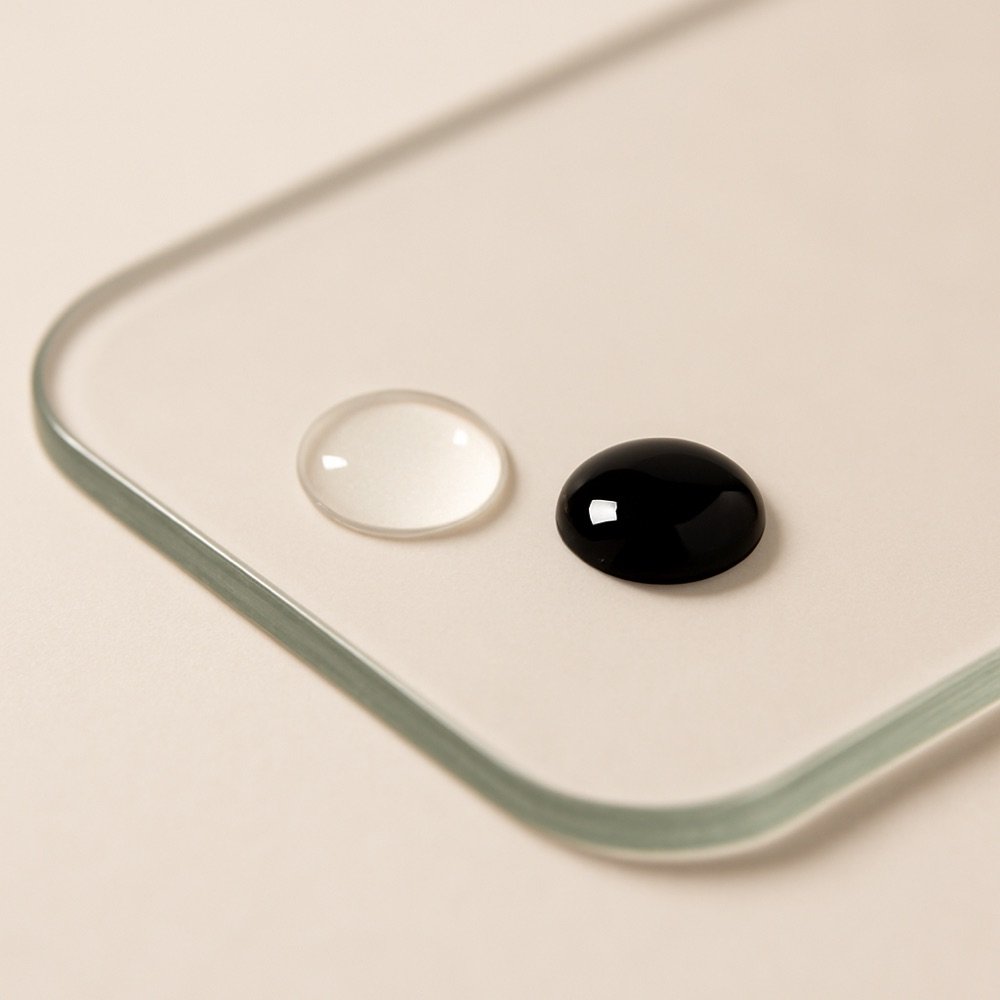
Clear lash glue dries transparent or close to it, making small application errors less visible and giving more flexibility if you're also using it near individual clusters rather than a solid band. Black lash glue dries dark, which can double as a soft eyeliner effect and help hide the lash band itself, especially with darker strip lashes.
Neither color is inherently stronger or safer -- the choice mostly comes down to the finished look you want and whether you'd rather the glue blend in or double as definition along the lash line.
Latex-free and sensitive-eye formulas
Many traditional lash adhesives use latex-based rubber compounds for hold, which works well for most people but can cause reactions in shoppers with a latex sensitivity. If you have a known latex allergy or sensitive eyes generally, look specifically for adhesive labeled latex-free, and check the full ingredient list on the product listing rather than assuming based on marketing language alone.
Regardless of formula, we recommend patch-testing any new adhesive on your inner forearm and waiting to see if a reaction develops before applying it near your eyes, especially if you have a history of sensitivity to cosmetic products.
Dry time and hold
Most lash adhesives need anywhere from a few seconds to roughly a minute to become tacky enough for placement, and several minutes more to fully set. Applying lashes too early, before the glue is tacky, tends to cause slipping; waiting too long can mean the glue loses its grip before you place the lash. Because dry times vary by product and by room humidity, it's worth doing a first test wear to get a feel for a specific adhesive's timing before an occasion where timing matters.
Temperature and humidity in the room where you're applying lashes can shift dry time noticeably, even for the same bottle of glue. A humid bathroom right after a shower, for example, may slow drying compared to a dry room. If you notice a specific adhesive behaving inconsistently, consider whether the environment -- not the product itself -- has changed between applications.
Browse our recommended products
Our featured picks refresh periodically. While we update them, our editorial guides can help you find the right pick.
See our guidesHow to read a lash glue listing
When comparing lash adhesive listings, a few details are worth checking before you buy:
- Whether the formula is described as latex-free, and whether the full ingredient list is disclosed.
- Color (clear or black) and whether that matches your intended look.
- Applicator type -- a built-in brush wand, a fine-tip nozzle, or a separate application tool.
- Whether the listing describes intended use for strip lashes, individual clusters, or both.
Be cautious of listings that claim to be gentle or suitable for sensitive skin without any supporting detail, since that kind of marketing language describes a lower chance of a reaction for most people, not an absence of risk for every user.
Glue for clusters vs strips
Most lash adhesives on the market work for both strip and cluster application, but the ideal consistency can differ slightly. Cluster application benefits from an adhesive that reaches a tacky stage quickly and holds a small dot of glue without running, since you're applying adhesive to many small bases in sequence rather than one long band at once. Strip lash adhesive has a bit more flexibility on thickness, since a full band naturally holds slightly more glue along its length.
Some brands sell separate formulas marketed specifically for clusters versus strips, but in practice, a well-reviewed general-purpose lash adhesive works for either, provided the dry time and thickness suit your particular application style.
Storing lash adhesive correctly
Lash glue has a shelf life, and improper storage shortens it further. Keep adhesive tightly capped between uses, stored away from direct sunlight and extreme temperature swings -- a bathroom cabinet is usually a better choice than a car or a windowsill. If a previously smooth adhesive starts drying out mid-application, turning clumpy, or changing color or odor, treat that as a sign it's time to replace the bottle rather than continuing to use it, since expired adhesive can affect both hold and comfort.
Don't forget removal
A good adhesive is only half the equation -- how easily it comes off matters just as much, especially if you plan to reuse the same lashes. A dedicated lash glue remover, rather than pulling or rubbing, is the gentler option; see our note on removal tools in the glue and tools hub and our guide to cleaning and reusing false lashes.
Browse our recommended products
Our featured picks refresh periodically. While we update them, our editorial guides can help you find the right pick.
See our guidesHow to patch-test a new adhesive
Before using any new lash adhesive near your eyes for the first time, apply a small amount to a clean area of your inner forearm and leave it undisturbed for the period of time recommended on the product packaging, often 24 to 48 hours. Watch for redness, itching, swelling, or a rash developing at the test site. If nothing develops, that's a reasonable (though not absolute) indication the formula is likely to be tolerated near your eyes as well.
This step is easy to skip when you're excited to try a new product, but it's the single most useful precaution available to you as a shopper, since it catches a potential reaction on your arm rather than right next to your eye.
Travel-size and single-use adhesive options
If you only wear false lashes occasionally, a full-size bottle of adhesive can dry out or degrade before you use much of it. Travel-size tubes or individually packaged single-use adhesive dots are worth considering for infrequent wearers, since they reduce the chance of reaching for an old, degraded bottle the next time you need it. They're also convenient for packing in a bag for touch-ups or an unplanned reapplication later in the day.
Ingredient-conscious shopping
Shoppers who prefer to avoid specific ingredient categories -- not just latex, but also certain preservatives or fragrance additives -- should read the full ingredient list on a product listing rather than relying on front-of-package marketing terms alone, since terms like "gentle" or "sensitive formula" aren't standardized and don't guarantee the absence of any particular ingredient. If a listing doesn't provide a full ingredient list, that's worth factoring into your decision, especially if you have known sensitivities.
A quick pre-purchase checklist
- Color: clear or black, matched to your intended look
- Latex-free labeling, if relevant to you
- Full ingredient list disclosed on the listing
- Applicator type described (brush, nozzle, or separate tool)
- Intended use for strips, clusters, or both
Running through this short list before purchasing takes only a minute and helps avoid an adhesive that turns out to be a poor match for your specific lash style or sensitivity needs.
Keep in mind that the "best" lash glue is ultimately the one that matches your specific needs -- sensitivity considerations, intended lash format, and desired finish -- rather than any single universally superior formula. Comparing a few listings against this checklist is a more reliable approach than choosing based on packaging alone.
It's also reasonable to expect to go through a bit of trial and error before settling on a go-to adhesive, especially if you wear false lashes across different formats and occasions. Keeping notes on which formula worked well for which style -- strip, cluster, or magnetic-adjacent products -- makes future purchases faster and more confident.