Why Customize Strip Lashes With Individual Accents
Customizing strip lashes is a simple way to make temporary false eyelashes look more personal and polished. Instead of wearing a strip exactly as it comes, you can add a few individual accents to change the shape, softness, or fullness of the finish. This approach is especially useful if a full strip looks too heavy at the inner corner, too short at the outer corner, or too uniform for the rest of your makeup.
Individual accents can help a strip lash blend more naturally with your own lashes. They can also let you fine-tune the look for different occasions. For example, you may want a subtle lift for daytime, a more defined outer edge for evening, or a slightly denser center if you like a rounded eye effect. The goal is not to make the lashes look overdone; it is to make them look intentional.
Another benefit is flexibility. A single strip can be adjusted in multiple ways, which means you can stretch your lash wardrobe without buying a separate style for every look. A few small changes can shift a lash from soft and fluttery to more structured and dramatic. For many shoppers, that makes customizing strip lashes a practical beauty habit rather than a complicated technique.
Choose the Right Strip and Accent Pieces
Before you start customizing strip lashes, it helps to know which materials work best together. Most strip lashes are made with a flexible band that can be trimmed and shaped. Individual accents may come as single clusters, small fans, or mini wisps. The best option depends on whether you want a barely there adjustment or a noticeable change in density.
Look for a strip lash with a band that feels easy to position. If the strip is very stiff, adding accents may not solve a fit issue, because the base itself may still sit awkwardly. Softer bands usually make it easier to blend extra pieces into the lash line. If the strip already has a strong style, pick accents that support the design rather than fight against it.
When selecting accents, think about length, curl, and spacing. A small cluster with a similar curl can slot into a gap without looking obvious. Longer accents can extend the outer edge, while shorter pieces can fill sparse sections or soften the center. If you are unsure, start with fewer pieces. It is easier to add a touch more than to undo a look that has become too dense.
- Use small clusters for subtle blending.
- Use wispy pieces to soften a blocky strip.
- Use slightly longer accents to elongate the outer third.
- Match the curl as closely as possible for a seamless finish.
Plan the Shape Before You Apply
The most important part of customizing strip lashes is deciding where the eye should look fuller or softer before you begin. A few minutes of planning can prevent overloading one area and help the lashes frame your eyes more evenly. Hold the strip against your eye without adhesive to see where it naturally sits. Notice whether the inner corner feels crowded, whether the outer edge needs more lift, or whether the center looks too sparse.
If you want a lifted effect, reserve accents for the outer third of the strip. If you prefer a rounded, doll-like look, distribute the pieces more evenly across the center and outer zones. If your eyes are close-set, you may want to keep the inner corner lighter and focus detail farther out. If your eyes are wider-set, adding a bit of softness or fullness nearer the center can create a more balanced frame.
Mapping the look before application also helps you keep both eyes consistent. Even if the goal is not perfect symmetry, the overall balance should feel similar from left to right. It can help to place the first eye completely, then mirror the placement on the second eye rather than working from memory. Small differences are normal, but a quick comparison in the mirror makes a big difference in the final result.
How to Add Individual Accents Seamlessly
Start by applying the strip lash first, or by setting the strip along your lash line so you can see the open spaces. Then use a small amount of lash adhesive according to the product directions for the strip and for the accents you are using. Working in tiny sections makes it easier to control where the added pieces land. If the glue feels slippery, wait a moment before placing the accent so it grips more cleanly.
Place each individual accent close to the lash line, nestling it into the strip rather than floating it above. The aim is to make the additions look like part of the same design. Use tweezers or a fine applicator for more precise placement. A mirror positioned slightly below eye level can also help you see the band and the spaces between pieces more clearly.
Focus on transitions. If the strip is dense and the accent is airy, place the new piece where the eye naturally expects a shift in texture, such as toward the outer corner or between two similar sections. If you are filling a gap, tuck the accent into the open area so the change in spacing looks deliberate. Press gently once the pieces are set, but avoid pushing too hard, since that can distort the band.
For a soft blended effect, avoid placing every accent at the exact same height. Slight variation in length can look more natural. A subtle stagger often creates a better result than a rigid row. The key is to keep the overall silhouette smooth while allowing enough dimension for the customization to show.
Browse our recommended products
Our featured picks refresh periodically. While we update them, our editorial guides can help you find the right pick.
See our guides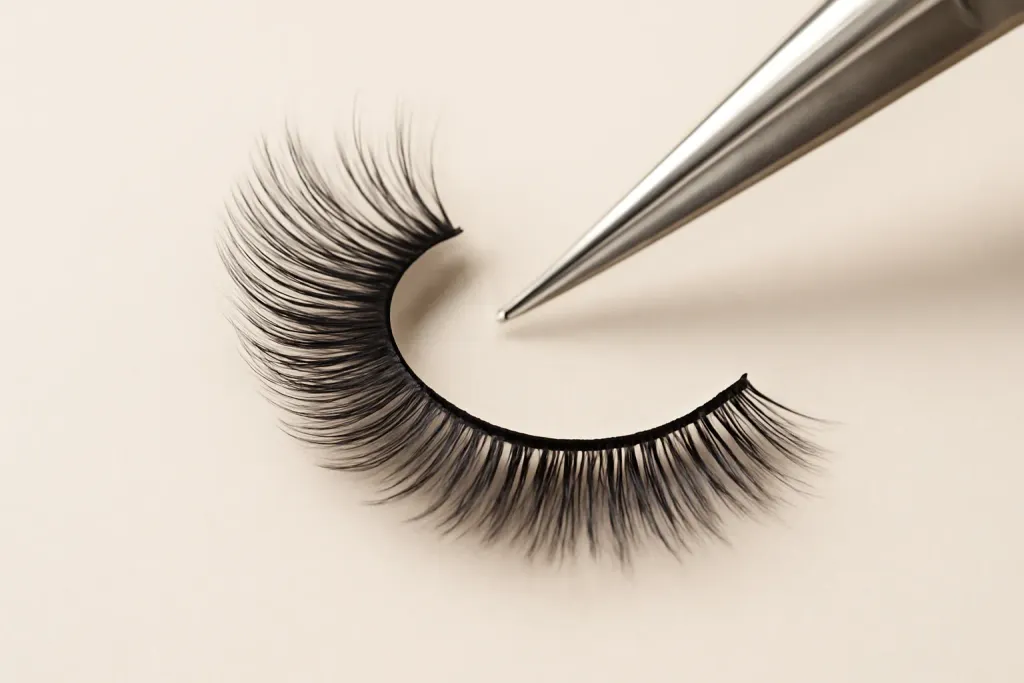
Simple Customization Ideas to Try
There are several easy ways to experiment with customizing strip lashes without changing the whole style. One common technique is outer-corner enhancement. Adding a few individual accents to the last third of the strip can create a lifted, elongated finish. This is a helpful option if the original strip ends too abruptly or feels slightly too uniform at the edge.
Another approach is center softening. Some strip lashes can look dense in a solid band across the eye. By inserting lighter accents into the middle, you can break up the heaviness and add a more fluttery texture. This works well when you want your lashes to feel fuller but not flat.
You can also build a rounded shape by adding accents just above the center of the iris line. That placement can create a more open look without changing the whole strip. If your strip feels too dramatic, try removing a section from one end and replacing that visual weight with a couple of delicate accents instead.
For a more natural result, think in terms of balance rather than size. A few small pieces placed thoughtfully can do more than several bold ones. The best customization often comes from tiny edits that improve the way the strip sits against your eye, not from making it look completely different.
Blend the Lashes With Your Own
Once the strip and accents are in place, blending is what makes the customization feel finished. If your natural lashes are visible, you can use a clean lash tool to gently lift and separate them from the false lashes after the adhesive has set. This helps the strip and the accents appear as one layer rather than two separate elements.
You can also use mascara lightly on your natural lashes before or after application, depending on the look you want. A small amount can help connect your lashes to the strip, but too much may make the finish clumpy. If you choose to use mascara, keep the application light so the added accents remain distinct enough to show texture.
Check the line from a few angles. A customization that looks great straight on might show a gap from the side or an uneven transition near the inner corner. If needed, add a tiny accent to soften a transition or remove one piece if the style feels too crowded. The aim is a clean frame that still lets the individual accents do their job.
Good blending also depends on the strip placement itself. A band that sits too high can make the accents look disconnected, while a band that sits too low may hide the detail. Taking a moment to adjust the base before the adhesive sets fully can make the entire customized lash look more cohesive.
Remove, Clean, and Store With Care
Customized strip lashes can often be reused if you remove them gently and clean them with care according to the product instructions. Start by loosening the adhesive slowly from the outer corner rather than pulling the strip straight off. If you added individual accents, remove them carefully so the band does not stretch or tear.
After removal, check the strip and the accents for leftover adhesive. A clean band helps the lashes keep their shape for future use. Handle the pieces with dry, clean hands and avoid soaking them unless the manufacturer specifically allows it. Excess moisture can affect the band, the curl, or any delicate clustering you added.
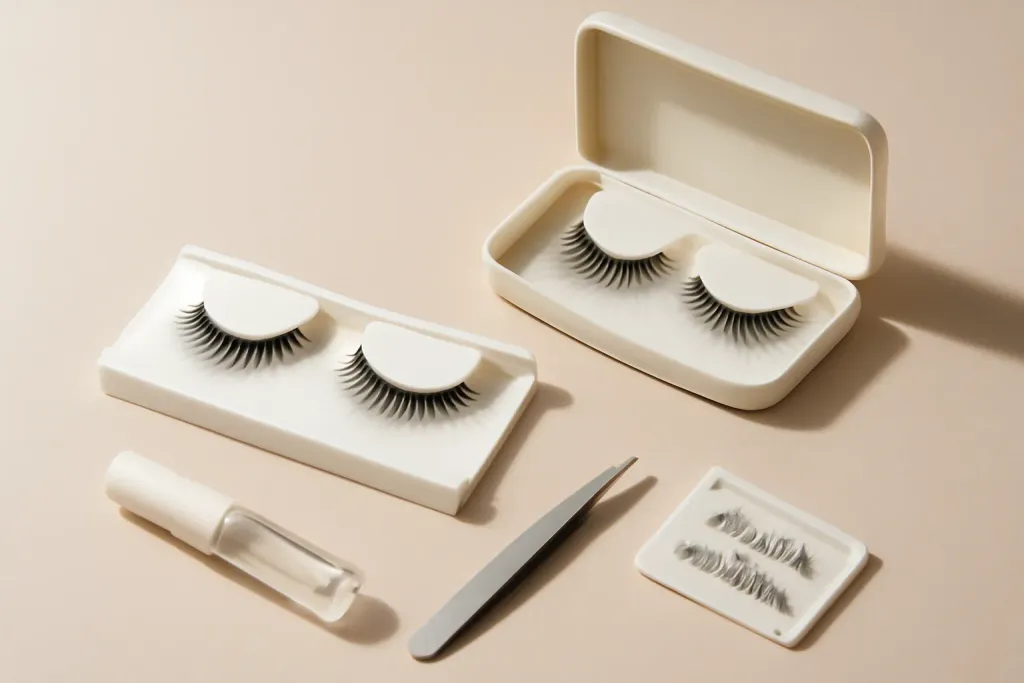
Store the strip and the accents in their original tray or a case that protects the shape. Keeping the pieces separated can make the next application easier, especially if you like to reuse the same customization pattern. You may even label or group the accents by placement so you can recreate the same look later without guessing.
Keep Comfort First
Even when customizing strip lashes is fun, comfort should stay the priority. If added accents make the lash line feel heavy, scratchy, or unstable, remove them and rethink the placement. Sometimes the best fix is simply using fewer pieces or moving them to a different part of the strip. A small adjustment can improve both the look and the feel.
Watch for signs that the lash shape is not working for your eye. If the inner corner keeps lifting, the outer edge feels pokey, or the band shifts after you blink, the customization may be too ambitious for that particular strip. Trimming the strip, reducing the number of accents, or choosing a different base lash can solve the issue more effectively than forcing the style to work.
If you experience persistent irritation, pain, redness, or swelling, stop using the product and seek professional care. Temporary false eyelashes should feel wearable and easy to remove. When they do, customizing strip lashes can be a creative way to fine-tune your look without moving outside the comfort zone.