What Magnetic Lashes Are
Magnetic lashes are a type of temporary false eyelash designed to attach without traditional lash glue. Instead of relying on adhesive along the lash band, they use small magnets to help the strip hold in place. For many shoppers, that makes them a convenient alternative when they want a fuller lash look without dealing with liquid glue.
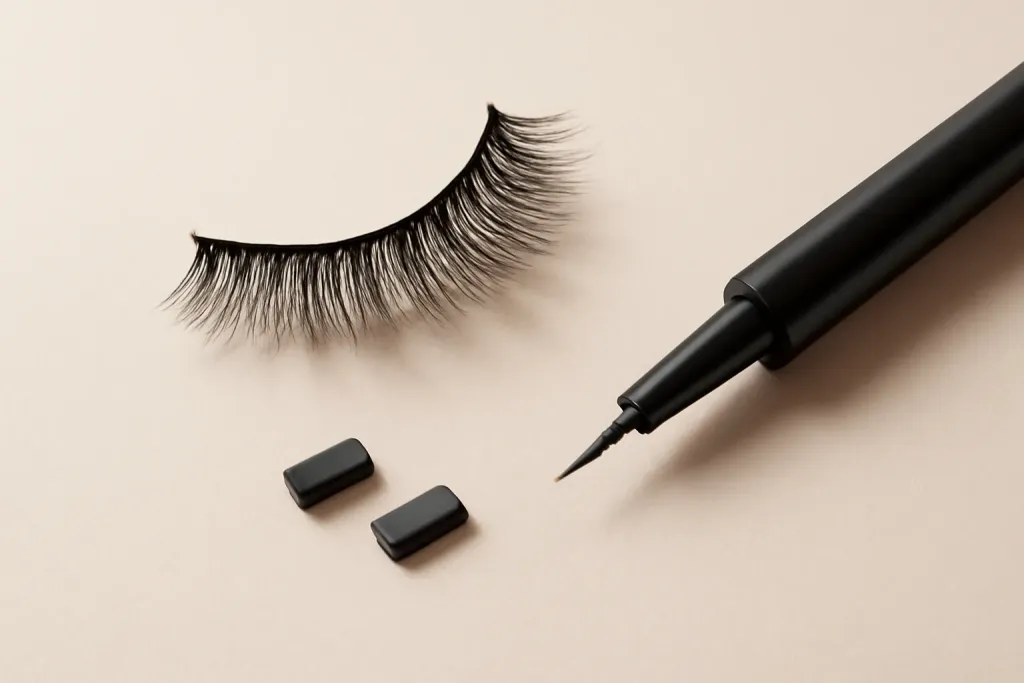
In most consumer versions, magnetic lashes come as a strip pair, a top and bottom lash system, or a single lash strip meant to work with a magnetic eyeliner. The exact design matters because it changes how the lashes are applied and how they feel once worn. Some styles are simple and lightweight, while others are fuller and more dramatic.
Because they are still false lashes, magnetic lashes are meant for temporary wear only. They can be removed and reused depending on the product, the condition of the magnets, and how carefully you clean them. Like any beauty accessory near the eyes, they require a careful fit and a little practice.
If you are trying to understand how do magnetic lashes work, the short version is that magnets create the hold. The longer version depends on which format you choose, since not all magnetic lash products work the same way.
How Magnetic Lashes Attach
There are two main ways magnetic lashes attach. The first uses magnets in the lash strip itself, often in pairs: one strip sits above your natural lashes and another sits below them. The magnets attract each other through your natural lash line and create a clasp-like hold. The second uses magnetic eyeliner, which contains iron oxide or other magnetic ingredients that let the lash magnets grip the liner after it dries.
In a strip-on-strip system, the idea is simple: the magnets face each other and pull together. The top strip and bottom strip sandwich your natural lashes between them. This format does not require eyeliner, but it can take steady hands to align both strips evenly.
With magnetic eyeliner systems, the eyeliner acts like the anchor point. You trace a line along the lash area, let it dry fully, and then place the magnetic lash strip on top. The magnets connect to the liner, helping the lash stay put. This approach can feel more familiar if you already know how to apply regular false lashes.
In either case, the goal is not to fuse the lash to your skin permanently. The magnets provide temporary attraction so the lash can be removed at the end of the day and used again if the product is still in good condition.
What They Feel Like to Wear
How magnetic lashes feel depends on the lash style, the strength of the magnets, and the fit along your eye shape. A well-placed pair should feel secure enough to stay in position without constant adjustment. At the same time, the lash line should not feel pinched, overly heavy, or sharply tugged at the corners.
Because magnetic lashes do not rely on sticky glue along the entire band, some people like the cleaner sensation. Others may notice the magnets as small points of pressure, especially if the lash strip is placed too far from the natural lash line or if the bands are not aligned. A poor fit can make the lashes more noticeable during wear.
The most comfortable results usually come from choosing a lash length and density that suits your eyes. If the strip is too long, it can lift at the inner or outer corner. If it is too dense, it may feel heavier than expected. Trimming the band, when the product allows it, can help improve comfort and alignment.
It is normal for the fit to take a few tries. The first application is often the hardest, but many users get faster once they learn where the lash should sit and how much adjustment the magnets need.
How to Apply Magnetic Lashes
Application varies by style, but a careful routine helps. Start by checking that your eyelids and natural lashes are clean and free of oily residue. If you are using magnetic eyeliner, apply it as a thin, even line as close to the lash roots as possible. Let it dry fully before placing the lashes.
For strip-on-strip magnetic lashes, begin by identifying which strip goes on top and which goes underneath. Hold the top strip above your lash line and the bottom strip below it, then let the magnets connect. It may help to place the center first and then guide the corners into position. If the strip feels off-center, lift it gently and try again rather than forcing it.
For eyeliner-based lashes, position the outer edge first and then lay the rest of the band down along the liner. Press lightly so the magnets make full contact. Avoid tugging at the lash band, since that can distort the shape and reduce hold.
A few practical habits can make the process easier:
- Work in good lighting and use a mirror at eye level.
- Keep your natural lashes separated so the magnetic strip sits smoothly.
- Apply mascara before or after only if the product instructions allow it.
- Use tweezers or a lash applicator if your hands need extra control.
If the lash does not seem to stay in place, check whether the liner is dry, whether the strip was trimmed too much, or whether the magnets are aligned correctly. Often the issue is placement rather than the lashes themselves.
Browse our recommended products
Our featured picks refresh periodically. While we update them, our editorial guides can help you find the right pick.
See our guides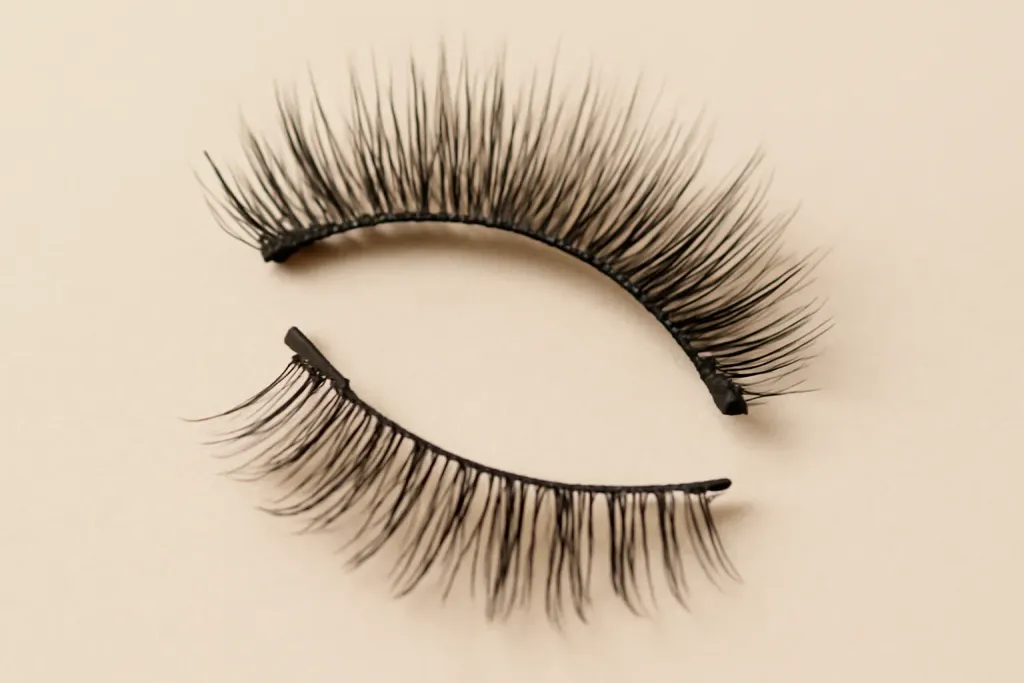
Why Fit and Eye Shape Matter
Magnetic lashes work best when they match the shape of your eyes. A straight band that is too long or too curved may lift away from the lash line, which makes the magnets less effective. The closer the band follows your natural eye shape, the easier it is for the lash to sit securely.
Different eye shapes may need different adjustments. Some people have a stronger curve in the outer corners, while others have a flatter lid shape. A lash that looks perfect in the packaging may still need a small trim or a slightly different placement to feel right on your eyes.
Weight also matters. A very full lash can look dramatic, but it may not be the easiest choice if you are new to magnetic lashes. Lighter styles are often simpler to manage because they place less pressure on the band and magnets. Once you are comfortable, you can decide whether you want a softer or bolder effect.
The goal is a balanced fit: enough contact for the magnets to work, but not so much tension that the corners lift or the lash feels awkward. A little customization can make a big difference in how natural the result looks.
How to Remove and Clean Them
Removing magnetic lashes should be gentle. Do not pull sharply on the band, since that can stress both the strip and your natural lashes. Instead, lift from the outer corner and separate the magnets slowly, or use a cotton swab if the product instructions suggest it. If you used magnetic eyeliner, a makeup remover that is suitable for the eye area can help soften the liner before removal.
Once removed, check the lash band for leftover makeup, liner, or skin oils. Gentle cleaning helps preserve the shape and keep the magnets working properly. Use a soft, lint-free cloth or a small amount of remover recommended by the manufacturer, then let the lashes dry completely before storing them.
Storage matters because bent bands and dirty magnets can affect how well the lashes work next time. Place them back in their case if one is provided, or keep them somewhere clean and dry where the band will not get crushed. Proper care can make reuse more realistic, but only if the lashes still look and feel intact.
If the band becomes misshapen, the magnets loosen, or the lash begins to feel uncomfortable, it is usually time to replace it. Temporary false lashes are beauty accessories, not permanent tools, so they do not last forever.
Common Mistakes to Avoid
One common mistake is trying to apply magnetic lashes before the liner is dry. If the liner is still tacky in the wrong way, the lash may shift, bunch, or stick unevenly. Another mistake is using too little liner, which can leave gaps where the magnets have less contact.
People also sometimes choose a lash that is too long for their eye shape. When that happens, the band may poke at the inner corner or float away from the lid. Trimming can help, but only if the product is meant to be trimmed and you cut from the correct side.
Misaligned magnets are another frequent issue. If the top and bottom strips are not lined up squarely, they may pinch the natural lashes or create an uneven hold. Taking a moment to center the band usually works better than repeatedly snapping the pieces together.
It is also worth avoiding heavy eye makeup along the lash line that can interfere with magnet contact. Thick residue, cream shadows, or oily products may reduce grip. For best results, keep the lash area clean and follow the product directions closely.
If your eyes become irritated, the lashes feel painful, or redness continues after removal, stop using the product and seek professional care. Eye discomfort should not be ignored.
Choosing the Right Style for You
When shopping for magnetic lashes, think about the look you want and how much effort you want to put into application. If you are new to false lashes, a simpler, lighter design may be easier to learn with than a dense, full-volume strip. If you already have experience with lashes, you may be more comfortable with a more dramatic style.
Also consider whether you prefer magnetic eyeliner or a two-piece magnetic strip system. Eyeliner-based lashes may feel more familiar if you like a defined lash line, while strip-on-strip styles may appeal if you want to avoid liner altogether. Neither method is automatically better; the right one depends on your routine and comfort level.
Look closely at the band construction, magnet placement, and return or reuse instructions from the brand. A flexible band can be easier to place, while a stiffer band may hold shape better but require more careful adjustment. Reading the product details before buying can help you avoid a style that feels too complicated for everyday use.
Ultimately, magnetic lashes are about temporary enhancement. They can add length, volume, and definition without a long-term commitment. Once you understand how do magnetic lashes work, it becomes easier to choose the version that matches your skill level and your preferred finish.