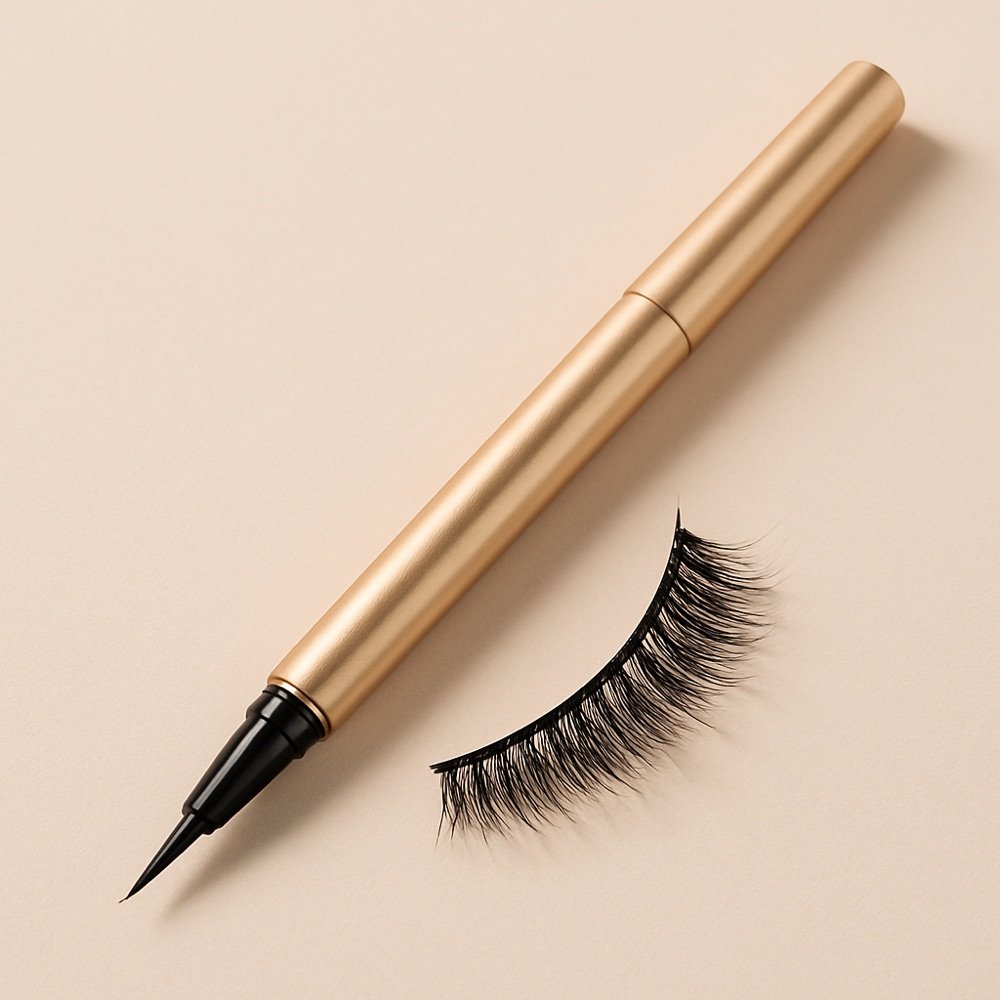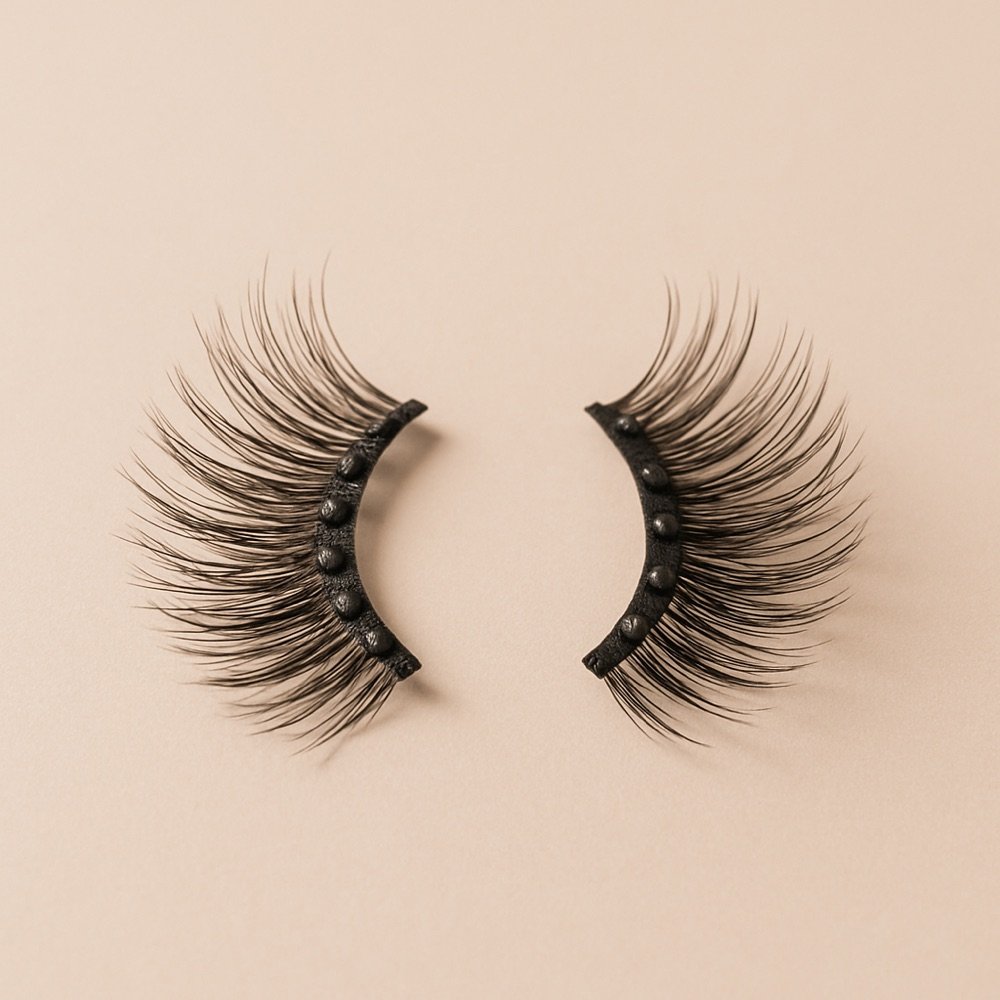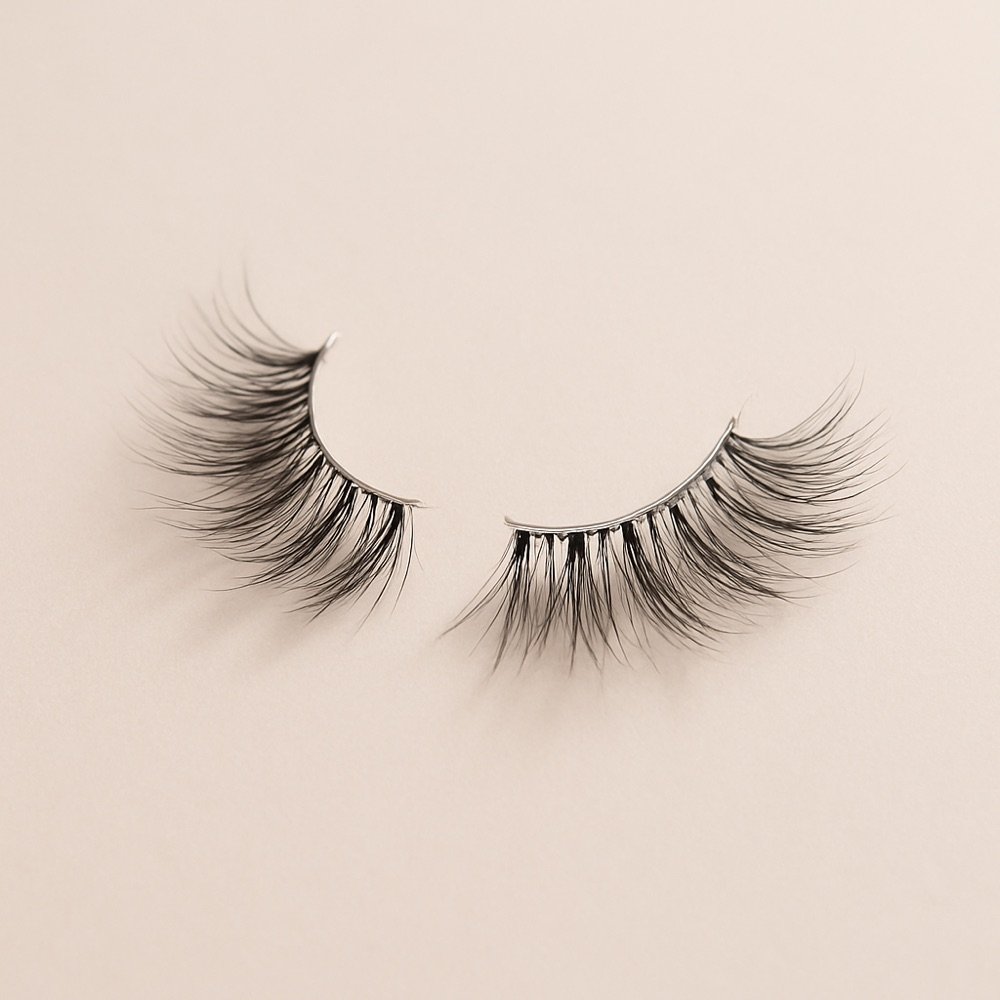
Two magnetic systems
| System | How it holds | Good for | Watch out for |
|---|---|---|---|
| Liner and lashes | Lashes grip a magnetic liner | First-timers | Liner dries out; read the ingredients |
| Sandwich pairs | Two lashes clamp your own | No liner | Needs enough natural lashes |
The difference is explained in liner vs sandwich, and the mechanism in how magnetic lashes work.
Listing checklist
| Check | Why |
|---|---|
| What is in the box | Liner, tweezers and case may be extra |
| Liner ingredients | Iron oxide is common; read the label |
| Length and band | Trim if it is longer than your eye |
| Maker's reuse figure | A maker's claim, not a guarantee |
| Removal directions | How to take off the liner |
Safety
Patch-test any magnetic liner on your inner arm 24 to 48 hours before use. If you have a medical implant, or before an MRI, ask your doctor about magnetic products first. If your eyes sting, redden or swell and it does not settle, remove the lashes and stop. This site is not medical advice. Steps for use are in how to apply magnetic lashes.
Caring for magnetic lashes
Wipe the magnets clean and dry after each wear and store them flat. See how to clean magnetic lashes.
Why a liner system is the easier first try
With a liner system, you apply a line of magnetic liner and set the lash on it. There is nothing to pinch, and you can lift and reposition. Sandwich pairs ask you to line up two pieces around your own lashes, which is harder if you have few lashes or want to place the lash precisely. If you wear glasses or have sensitive timing in the morning, a liner system is quicker once you have practised.
Whatever you choose, practise once before the day you need it. A first attempt rarely looks perfect, and a practice run tells you whether the length and band suit your eye.
Fit, length and trimming
A band longer than your eye lifts at the corner, and that is as true for magnetic lashes as for strips. Compare the band to your eye before you add liner, and trim the outer end with small scissors if it passes your corner. See how to trim false eyelashes. Keep the length close to your own lashes for a natural look and go longer only if you want drama.
| System | How it holds | Good to know |
|---|---|---|
| Magnetic liner + lashes | Lashes with small magnets grip a liner that contains magnetic particles | Liner formulas vary; read the ingredient list |
| Sandwich (paired) lashes | Two lash pieces with magnets clamp your natural lashes between them | Needs enough natural lashes to hold on to |
How a magnetic liner set goes on
- Shake the liner and check the lash is clean and the magnets are free of dust.
- Draw a thin line along the upper lash line only, as close to your lashes as you can.
- Wait for the time the maker states before you place the lash.
- Place the lash by bringing it in from the outer edge and letting the magnets meet the line, then press gently along the band.
- Check in the mirror with your eyes open and blend any gap with a little more liner.
The full walkthrough, with a mistakes table, is in how to apply magnetic lashes.
Magnetic lashes vs strip and cluster
| Magnetic | Strip | Cluster | |
|---|---|---|---|
| Adhesive | Magnetic liner or paired lashes, no lash glue | Strip lash glue | Bond and seal |
| Speed | Fast once practised | Fast | Slower |
| Control | Medium | Lower | High |
| Removal | Lift off, then remove the liner | Remover, then lift | Remover for the bond |
| Main watch-out | Liner smudging; medical implants and MRI | Band fit | Patience |
If you are still deciding between the three, read best false eyelashes.
Magnetic lash mistakes and fixes
| Mistake | Likely result | Fix |
|---|---|---|
| Liner too thick | Smudges and a heavy line | Draw a thin line and let it set |
| Placing the lash too early | Liner transfers to the lid | Wait for the time on the pack |
| Lash too far from the lash line | A visible gap | Press the band close to the base |
| Magnets with product on them | Weak hold | Wipe the band clean between wears |
| Pulling the lash off | Stress on your own lashes | Lift from the outer corner and remove the liner with a remover |
Care is simple: wipe the band, let it dry and store it flat in its case. Our cleaning guide covers the magnets.
Safety notes for magnetic products
Patch-test any liner on your inner arm 24 to 48 hours before it goes near your eyes, keep it out of your eye, and stop and remove it if stinging, redness or swelling does not settle. Magnetic liner usually contains iron oxide; check the ingredient list on the pack. People with medical implants, or who have an MRI scheduled, should ask their doctor before using magnetic lashes. For pain or a change in vision, see an eye doctor. This site is editorial and not medical advice.
For the full picture on how the two magnetic systems differ, see magnetic liner vs sandwich lashes and how magnetic lashes work.
What to check on a magnetic listing
| Check | Why it matters |
|---|---|
| Is the liner included? | Many sets sell lashes and liner separately |
| Number of magnets | Spreads the hold along the band |
| Length and band width | Decides how the lash fits your eye |
| Trimmable? | A trimmable band suits more eye shapes |
| Case included? | Keeps lashes flat and clean |
| The maker's wear claim | A claim, not a promise |
We chose the named sets above by their listed details, not by testing, and only one maker's magnetic range could be read in full. If you find another set that fits better, check it against this list first.
How we picked the named sets
We read the product pages on the maker's own site and chose sets that cover three useful looks: a short natural lash, a medium wispy lash, and a long cat-eye. For each we listed only what the page states: length, band width, the number of magnets, whether it can be trimmed, and whether a case comes with it. We did not test them, and we cannot confirm wear claims. Prices change, so we do not list them; compare the listing on the day you buy, and check the maker's page for the current range.
- Choose the short natural lash if you wear glasses or want an everyday look.
- Choose the medium wispy lash for the widest range of eye shapes.
- Choose the long cat-eye lash for evenings and photos.