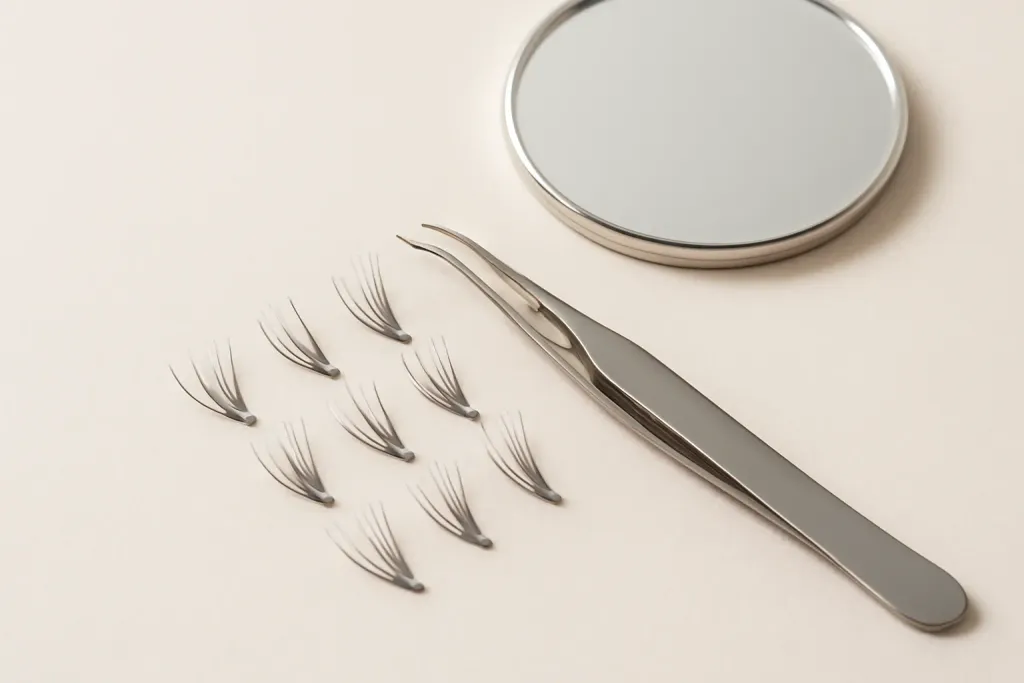
What Cluster Lashes Are
Cluster lashes are small groups of lash fibers attached at a tiny base, so they can be placed in sections along the lash line. For cluster lashes for beginners, that structure is often appealing because you are not trying to manage one long band all at once. Instead, you can place a few pieces, step back, and build the look gradually.
They are designed as temporary false eyelashes for at-home wear, which makes them different from a strip lash and also different from longer-wear lash services. The appeal is simple: cluster styles can feel less intimidating when you are first learning how lashes sit on the eye and how much fullness looks right for you.
Because each cluster is smaller, you can control the final effect more easily. Shorter pieces can create a soft everyday finish, while longer or denser clusters can make the eyes look more defined. The right result depends on the length, curl, spacing, and placement you choose. For beginners, it usually helps to start with a natural or medium style so you can learn the basics before moving into bolder looks.
Why They Work Well for Beginners
Cluster lashes for beginners are often easier to approach because they give you more room to adjust as you go. If one section looks too full, you can remove it and try again. If one area needs more balance, you can add another cluster without redoing the whole eye. That flexibility is useful when you are still developing your eye for placement.
Another advantage is that cluster lashes can help you learn shape. You can see how outer-corner placement changes the eye, how shorter inner-corner pieces keep the look lighter, and how spacing affects the final finish. Those small lessons are valuable because they teach you how to create a style that suits your own features instead of copying one fixed pattern.
Beginners also tend to appreciate that the application process is more modular. You work in smaller steps, which can feel calmer than trying to set a full strip in one motion. That does not mean cluster lashes are effortless, but they can be a friendlier place to start if you want to practice false-lash basics without a steep learning curve.
What to Look For in a Beginner-Friendly Set
When shopping for cluster lashes for beginners, it helps to focus on features that make the process easier rather than simply choosing the most dramatic style. A good starter set usually gives you enough variety to experiment while still keeping the overall design manageable.
Look for these helpful details:
Mixed lengths: Short, medium, and longer clusters let you build shape without needing several different products.
Clear labeling: Organized trays or size markers reduce confusion when you are learning which cluster to place where.
Lightweight feel: Lighter clusters are often easier to position and blend into your natural lashes.
Flexible base: A base that is easy to work with can make placement feel smoother and less bulky.
Simple instructions: Straightforward guidance can be especially useful the first few times you apply and remove lashes.
It also helps to think about the finish you want. If you prefer subtle definition, shorter clusters and a softer curl are usually easier to start with. If you want a more noticeable look, choose a set with enough length variation to build fullness gradually. The best beginner set is one that gives you options without overwhelming you.
Tools and Prep Before You Start
Having the right tools ready can make the process much simpler. You do not need a complicated setup, but a few basic items can help you work more neatly and avoid unnecessary frustration. Before you begin, set everything within reach so you can stay focused on placement.
A practical starter kit may include:
Tweezers or a lash applicator: Helps you pick up and place each cluster with better control.
Adhesive or bond made for temporary false lashes: Use a product intended for the lash type you are wearing, and follow the directions closely.
Remover, if included in the system: Matching products can make removal and cleanup easier to manage.
Spoolie or lash brush: Useful for gentle blending after placement.
Cotton swabs and a gentle cleanser: Helpful for cleaning the lash line after removal.
Mirror with good lighting: Good visibility matters when you are trying to place small pieces accurately.
Prep matters too. Clean your eyelids and natural lashes so makeup, oil, and residue do not interfere with adhesion. Let the area dry fully before you begin. If you wear eye makeup, remove it first and avoid heavy creams right along the lash line. A clean surface usually makes the process easier and helps the clusters sit where you want them.
Browse our recommended products
Our featured picks refresh periodically. While we update them, our editorial guides can help you find the right pick.
See our guides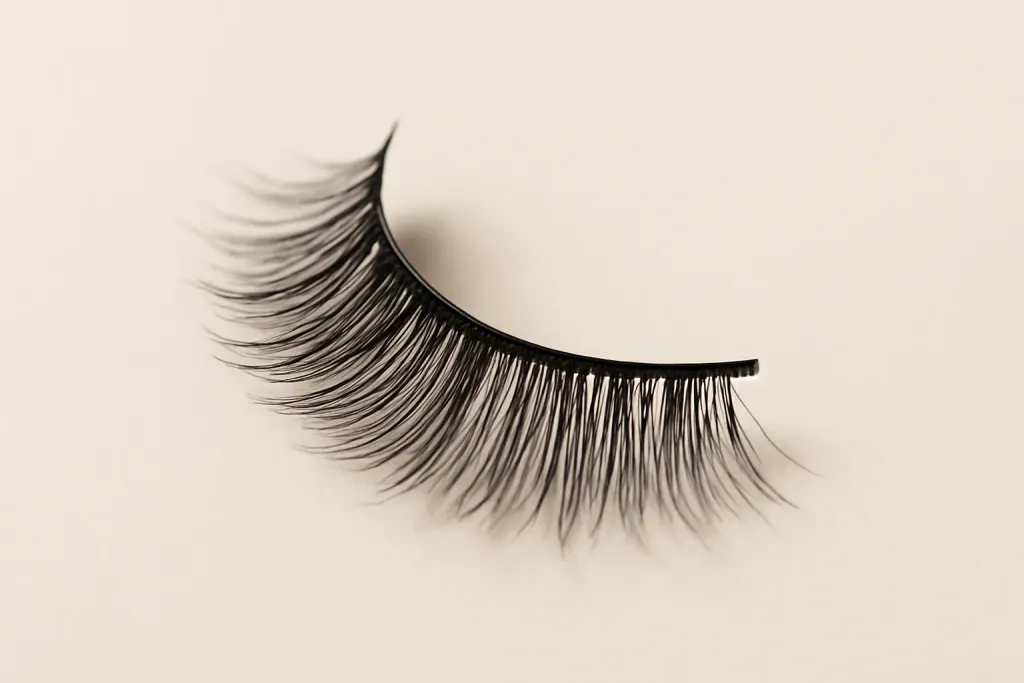
How to Apply Cluster Lashes Step by Step
If you are learning cluster lashes for beginners, a steady pace will usually serve you better than speed. Work one eye at a time, and start with just a few clusters so you can understand how the shape builds. You do not need to complete a full dramatic look on your first try.
Prep the lash line. Clean the eyelids and remove any leftover skincare or makeup. Let the area dry fully before applying adhesive.
Map the placement. Hold the clusters near the eye without attaching them to see how the lengths will look. Many beginners start with shorter pieces near the inner corner and gradually add length outward.
Use adhesive sparingly. Follow the product instructions and apply a controlled amount. Too much can make placement messy and harder to correct.
Set each cluster close to the lash line. Place the base where it can blend with your natural lashes, then press gently for a moment to help it settle.
Build in small sections. Add one or two pieces at a time and check symmetry as you go. It is easier to adjust as you work than to fix a finished look later.
Blend the final shape. Use a clean spoolie to gently soften the look and help the clusters sit more naturally with your own lashes.
If a piece lands crooked or feels off, remove it carefully and try again. A neat placement often looks better than forcing a cluster to stay in the wrong position. With practice, you will start to see which spacing and lengths flatter your eyes most.
Common Beginner Mistakes
Most people make a few small mistakes when they first try false lashes, and cluster lashes are no exception. The good news is that these issues are usually easy to avoid once you know what to watch for.
One common mistake is using too much adhesive. A heavy amount can make the base slippery or messy, while a thinner, more controlled layer is usually easier to manage. Another issue is choosing clusters that are too long or too dense for a first attempt. More dramatic pieces can be beautiful, but they are often harder to place and blend when you are still learning.
Beginners also sometimes place clusters too far from the natural lash line. That can make the finish look less seamless and may make the lashes feel less secure. Taking a moment to line up the base carefully can improve the overall result. It also helps to compare both eyes as you go, since one side can easily end up fuller or angled differently if you never step back from the mirror.
Another easy mistake is touching or brushing the lashes before the adhesive has had time to settle. Give the product a moment to do its job, then make only small adjustments. If a cluster feels uncomfortable, pokes, or does not sit right, remove it instead of trying to ignore it. Comfort matters, especially when you are still learning.
Styling, Removal, and Aftercare
One reason cluster lashes for beginners are popular is that they can be styled in different ways. For a soft, natural finish, use shorter clusters across the lash line and keep the spacing even. That creates fullness without making the eyes look too heavy. If you want a slightly lifted effect, place the longest pieces toward the outer corners and leave the inner area lighter.
You can also use cluster placement to shape the eye. A more rounded layout can make the eyes look open, while a tapered outer edge can create a gentle winged effect. It often helps to start conservatively and add more only where needed. That way, the final style stays balanced and wearable.
When it is time to remove the lashes, be gentle and patient. Follow the directions for your adhesive or remover system and let the product loosen the bond before lifting the clusters away. Avoid tugging. Pulling too quickly can stress your natural lashes and make cleanup harder.
After removal, cleanse the eyelid and lash line to clear away leftover product. If the cluster set is meant to be reused, clean and store it carefully so the fibers keep their shape. Keep temporary lashes in their tray or a clean case so they stay protected between uses.
If you notice persistent redness, pain, swelling, or irritation after wearing or removing cluster lashes, stop using the product and seek professional care. Temporary lashes should not cause ongoing discomfort. When in doubt, choose gentler application habits and take your time with each step.
Frequently Asked Questions
If you are new to false lashes, it is normal to have a few questions before you begin. Cluster lashes can feel much easier once you understand how the pieces work together and what a realistic first attempt looks like. Start with a simple style, keep your tools nearby, and focus on learning placement before trying to create a highly dramatic effect.
The most important thing to remember is that practice matters. Cluster lashes for beginners are not about getting everything perfect the first time. They are about learning how much adhesive to use, where to place each cluster, and how to build a look that feels comfortable on your own eyes.