What DIY lash extensions are
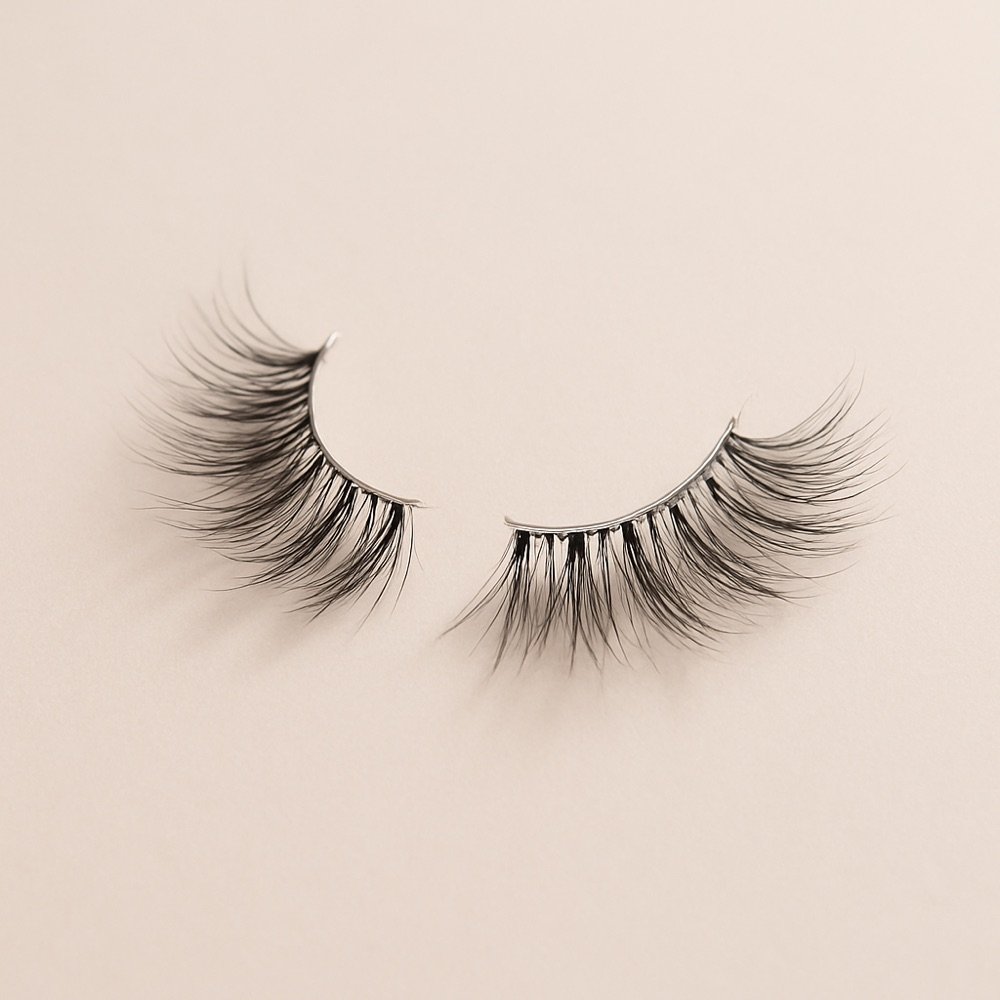
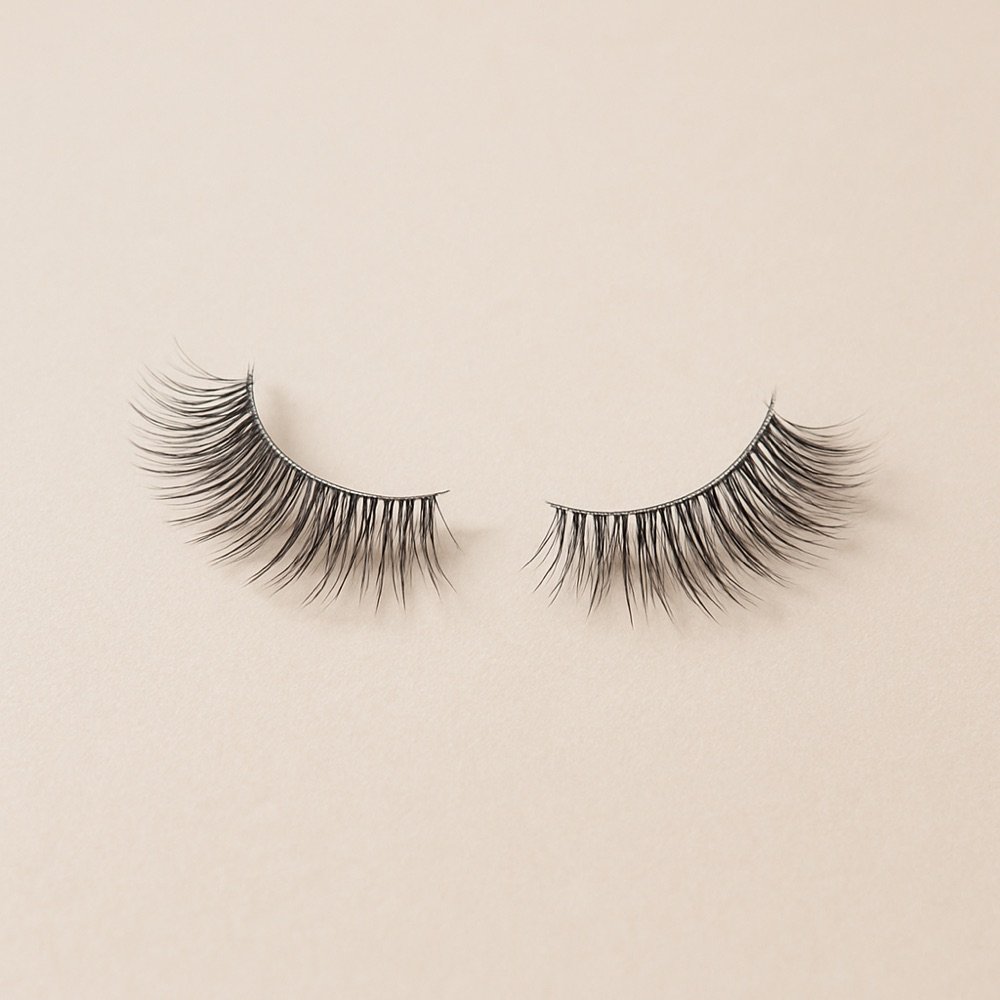
A DIY lash extension kit is a set of small lash clusters, or wisps, that you place yourself with a bond and a seal. They are worn under your natural lashes at the base, so nothing is glued to your own lashes. That makes them a temporary at-home product, not a salon service. This site covers the at-home kind only.
DIY clusters vs salon extensions
| DIY clusters | Salon extensions | |
|---|---|---|
| Where it sticks | Under your lashes, on a bond | Onto each natural lash |
| Applied by | You | A trained professional |
| Removal | Remover, at home | Professional removal |
| Commitment | Temporary, redo as needed | Longer, needs upkeep |
| Our coverage | Yes | No |
What should be in a kit
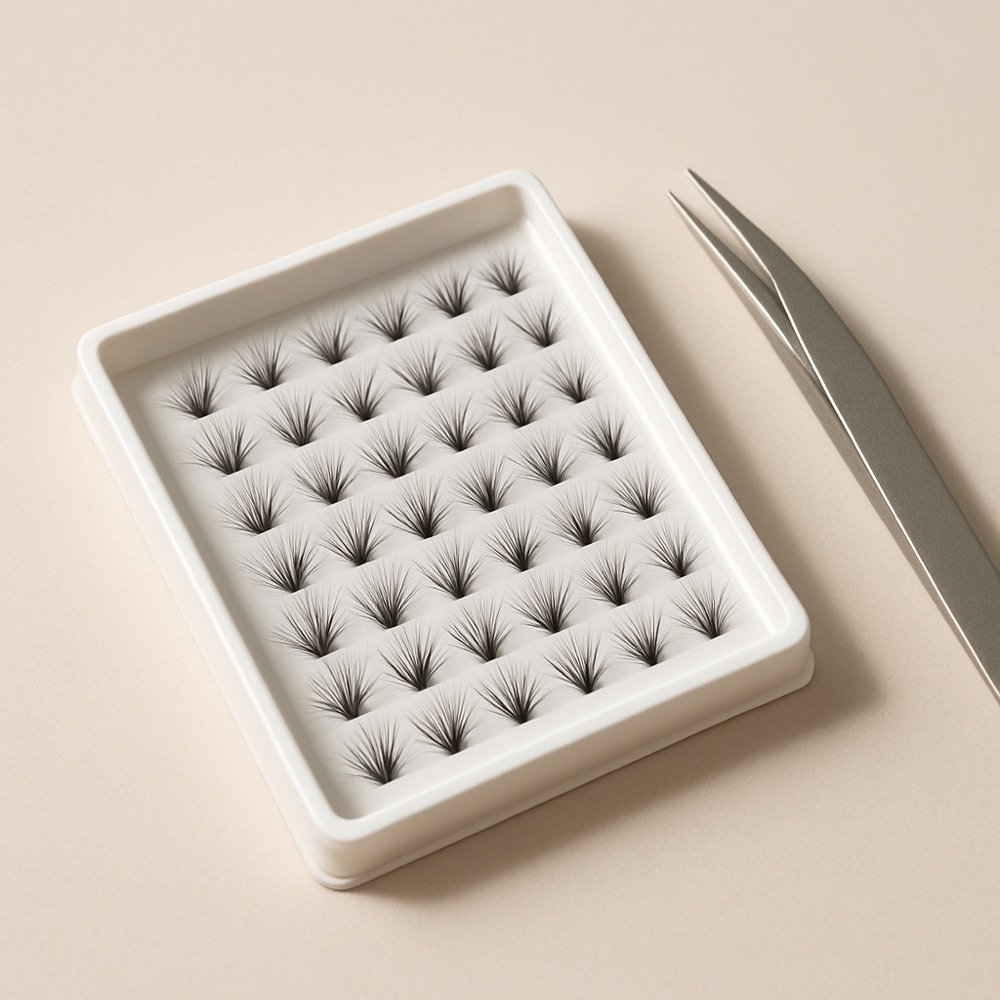
- Lash clusters or wisps in a range of lengths.
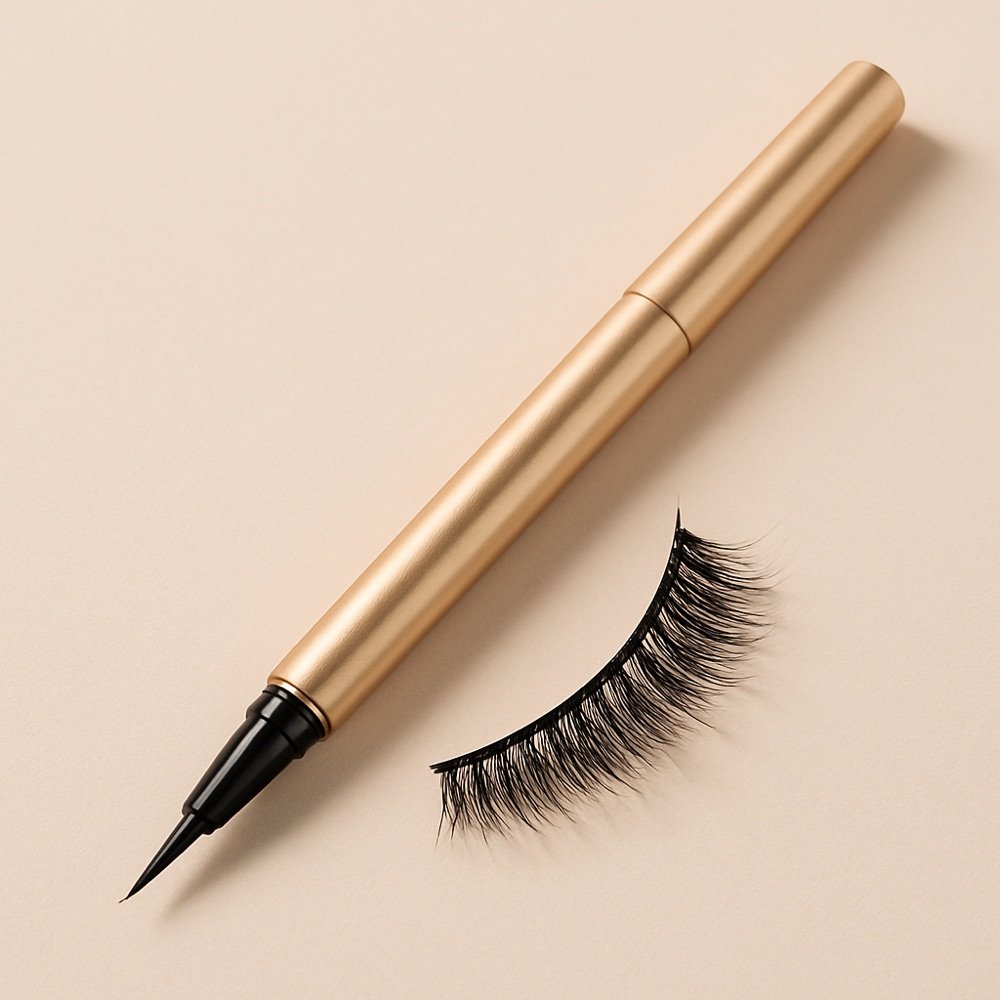
- Bond and seal made for clusters.
- An applicator or tweezers to pick up each piece.
- A remover for the bond, which is often sold separately.
Not every kit has all four. Check the listing, and add what is missing. For bonds see the glue buying guide.
How a first application goes
- Plan your lengths with a cluster lash map.
- Clean and dry your lash line.
- Pick up a cluster, add bond to the base and place it under your own lashes, outer corner first.
- Hold for a few seconds, work inward and seal.
The full steps are in how to apply cluster lashes. For wear time, see how long cluster lashes last.
Safety first
Patch-test the bond and remover on your inner arm 24 to 48 hours before use. Keep adhesive out of your eye. If you notice stinging, redness or swelling that does not settle, take the lashes off and stop. For pain or a change in vision, see an eye doctor. This site is editorial and not medical advice.
Choosing length and density
A shorter range is more forgiving: it is hard to overdo a set that tops out near 12 mm, and it feels lighter. Longer ranges give drama but need a steadier hand and a bond that holds. Density matters too. Lightweight, wispy pieces blend with your own lashes; dense pieces make a bolder line.
| Goal | Length range | Density |
|---|---|---|
| Everyday, natural | About 8 to 12 mm | Lightweight wisps |
| A little more lift | About 10 to 14 mm | Medium wisps |
| Special occasion | About 12 to 16 mm | Fuller wisps |
The curl and length chart shows the difference visually.
| Format | How it goes on | Best for | Watch out for |
|---|---|---|---|
| Strip lashes | One band placed along the whole lash line | First-timers and quick event looks | A stiff band can lift at the corners |
| Cluster lashes | Small sections placed one at a time | Custom density and placement | Needs patience and a steady hand |
| Magnetic lashes | Magnets (liner or sandwich pairs) instead of glue | Anyone who wants to skip lash glue | Magnets can be fiddly; check the maker's guidance |
Mistakes beginners make
- Too much bond. A thick blob dries white and lumpy; a thin line holds better.
- Placing pieces on top of your lashes. Clusters sit underneath, at the base.
- Going too long too soon. Start short and work up.
- Skipping the remover. Buy it with the kit so removal is not a scramble.
What a DIY lash kit usually contains
At-home kits vary, but most combine the same few parts. Knowing them helps you spot a kit that is missing something.
| Part | What it does | Check on the listing |
|---|---|---|
| Lash clusters | The pieces you place under your natural lashes | Count, length range in mm, curl |
| Bond | Holds each piece at the base | Made for clusters, not for strip lashes |
| Seal | Goes over the top to lock the bond in | Often sold with the bond as one system |
| Applicator or tweezers | Picks up each piece | A dual-ended applicator saves a step |
| Remover | Softens the bond so pieces come off gently | Made for the bond you bought |
| Case or tray | Stores spare pieces | Optional but handy |
How an at-home set goes on
- Plan your lengths with the cluster lash map.
- Prepare the lash line. Clean, dry and free of oil.
- Pick up a cluster by its base and add a small dot of bond.
- Place it under your natural lashes close to the lash line, starting at the outer corner.
- Work inwards and add the seal when all pieces are in.
The long version, with mistakes and fixes, is in how to apply cluster lashes.
DIY clusters vs salon extensions
| At-home clusters | Salon extensions | |
|---|---|---|
| Who applies them | You | A trained professional |
| Where they sit | Under your natural lashes | Bonded to individual natural lashes |
| Adhesive | A bond made for clusters | Professional extension adhesive |
| Removal | Remover and a gentle lift | A professional removal |
| Our coverage | Yes | No tutorial; ask a licensed professional |
We do not give a how-to for salon extensions or professional adhesive. If you want that look, see a licensed technician.
Common DIY mistakes
| Mistake | Why it matters | Fix |
|---|---|---|
| Using strip glue on clusters | It is not made for the job | Use a bond and seal for clusters |
| Placing on top of the lashes | Looks bulky and lifts | Place under, close to the base |
| Too much bond | Slow to dry and messy | A small dot is enough |
| Pulling pieces off | Strain on your own lashes | Soften with a remover first |
| Starting with long lengths | Hard to hide mistakes | Begin with a short range |
See also our best lash clusters guide for named sets, and the cluster lashes hub for the overview.
Your first at-home set: what to buy
For a first try, choose a short length range, a kit that lists what is in the box, and a bond and seal made for clusters. Add a remover at the same time, because removal is the part most people do not plan for. The best lash clusters guide names sets with their lengths, and the adhesive ingredients guide explains how to read a label.
Patch-test the bond on your inner arm 24 to 48 hours before use, keep it out of your eye and stop if you notice stinging, redness or swelling that does not settle.
Safety first
Patch-test the bond and remover on your inner arm 24 to 48 hours before use, keep adhesive out of your eye, and stop and remove the set if you notice stinging, redness or swelling that does not settle. See an eye doctor for pain or a change in vision. This site is editorial and not medical advice, and we do not recommend using any professional adhesive at home. If you are unsure whether a product suits you, ask a pharmacist or doctor before you use it.