The difference in one minute
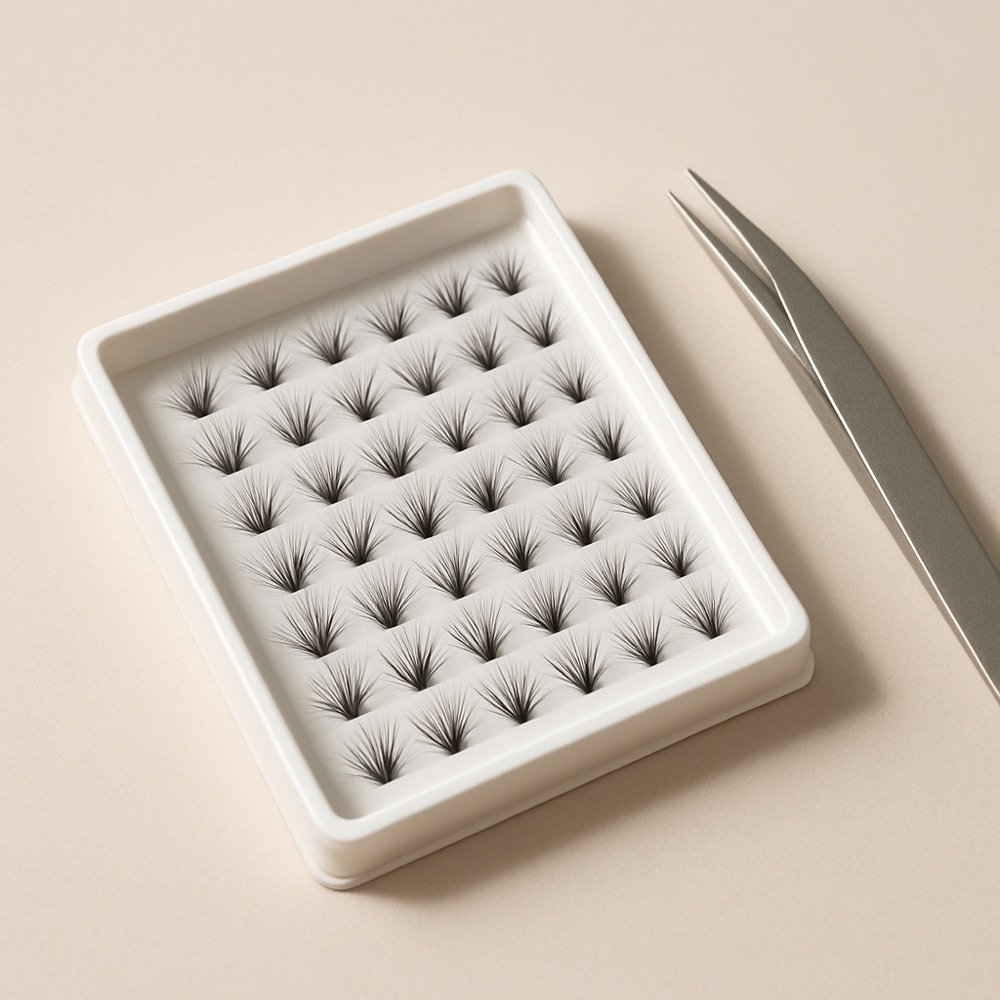
Individual lashes are single fibres, each with a tiny base, placed one at a time. Cluster lashes are small groups of fibres joined at one base, placed as a single piece. That one difference drives everything else: how long a set takes, how it looks up close, how easy it is to fix and how much patience you need.
This guide covers the at-home kind of both, applied with a bond made for them. It does not cover professional extensions applied by a trained lash artist to each natural lash, which is a different service with different products. If that is what you were after, the short answer in DIY lash extensions explains where the at-home versions sit.
Most people who ask this question are really asking whether the extra effort of single fibres is worth it. For most beginners the honest answer is no, not at first. Clusters get you most of the look in a fraction of the time, and you can add individual pieces later if you find gaps.
Side-by-side comparison
| Individual lashes | Cluster lashes | |
|---|---|---|
| What it is | A single fibre on a tiny base | Several fibres joined at one base |
| Pieces per set | Many, often dozens per eye | Fewer, often around ten per eye |
| Time to apply | Longest | Moderate |
| Skill needed | Highest: small pieces, steady hands | Medium: easier to handle and place |
| Look | The most natural, can be built very precisely | Fuller, wispy or defined depending on the cluster |
| Fixing a gap | Add one fibre where needed | Replace or add one cluster |
| Bond | Bond made for the lash type | Bond and seal made for clusters |
| Removal | Remover made for the bond | Remover made for the bond |
| Good first choice? | Rarely | Yes, with a short length range |
The table is a rule of thumb. Some clusters are so fine they look close to single lashes, and some individual sets are packed in dense groups. Read the pack to see what you are actually getting, and check the length range in millimetres.
How they look and feel
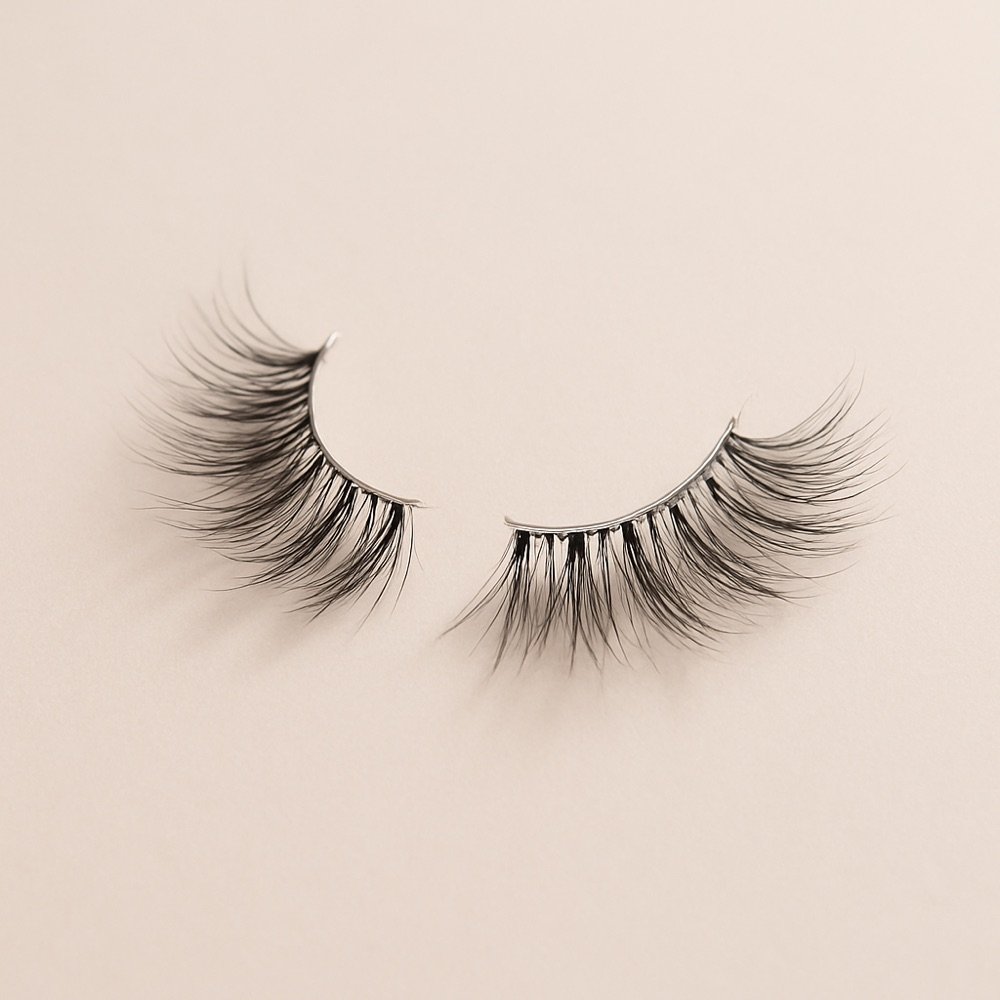
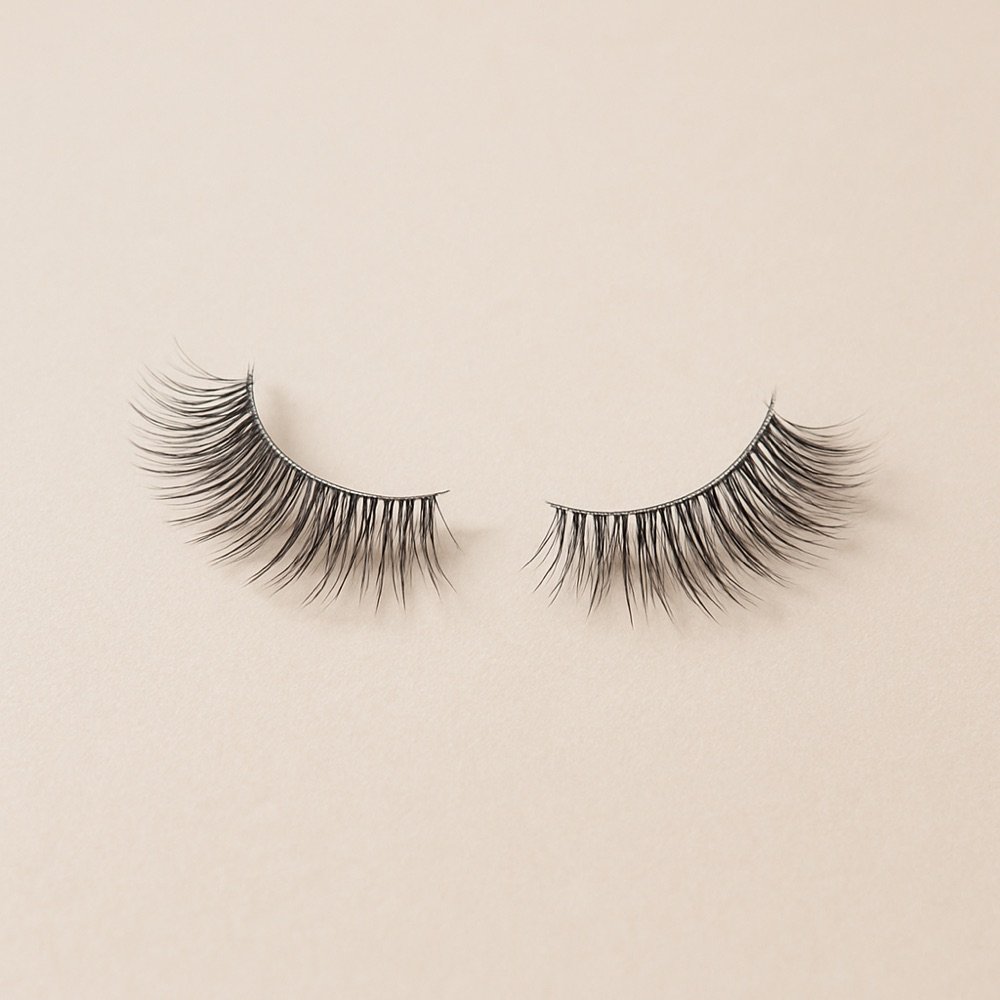
On the eye, individual lashes are the most subtle. Because each fibre sits with one of your own, the result reads as your lashes but thicker or longer, and you can leave gaps on purpose so nothing looks added. The trade-off is that a full set needs a lot of them, so the effort rises quickly.
Clusters look fuller for the same number of placements. Each piece adds a small fan of fibres, which gives a wispy, textured finish. The risk is spacing: pieces placed too far apart look patchy, and pieces placed too close look heavy. A lash map helps here, because it plans length and spacing before you open the pack. You can build one in the cluster lash map and print it.
Comfort depends mostly on weight and placement. Lighter fibres and a small amount of bond feel less noticeable. Anything placed on your lid skin instead of at the base of your lashes will feel irritating whichever type you use, so keep the base close to the lash line but not on the skin.
Effort, time and the learning curve
Time is the practical gap. A cluster set is a series of quick placements, each one a single press. A full set of individual lashes is the same motion repeated many more times, with smaller pieces that are harder to pick up and align. Every extra piece is another chance to place a fibre slightly off, so the learning curve is steeper.
| Step | Individual lashes | Cluster lashes |
|---|---|---|
| Picking up the piece | Fiddly; needs fine tweezers | Easier; larger base to hold |
| Placing the piece | Many repeats | Fewer repeats |
| Correcting a mistake | Quick if caught early | Quick, but each error is more visible |
| Sealing | One pass at the end if your bond uses a seal | One pass at the end |
A reasonable plan is to practise on one eye with a short range, then decide. If you are still enjoying it, you may like the control of individual pieces; if you are not, clusters will do. The steps for clusters are in how to apply cluster lashes.
| Format | How it goes on | Best for | Watch out for |
|---|---|---|---|
| Strip lashes | One band placed along the whole lash line | First-timers and quick event looks | A stiff band can lift at the corners |
| Cluster lashes | Small sections placed one at a time | Custom density and placement | Needs patience and a steady hand |
| Magnetic lashes | Magnets (liner or sandwich pairs) instead of glue | Anyone who wants to skip lash glue | Magnets can be fiddly; check the maker's guidance |
Wear time, comfort and removal
Wear time is set by the bond, the placement, your skin's oil and how you treat the set, far more than by the type of lash. Both types are meant to be worn for a limited time, and both are removed with a remover made for the bond, not by pulling. Makers often state a wear time on the pack; treat that as the maker's claim and expect your own result to differ. How long do cluster lashes last breaks down what shortens and extends wear.
Individual lashes are more likely to be left on for longer, because they are so small and so hard to notice, so check them regularly. Old bond builds up at the base and can irritate. Clusters are easier to spot when one lifts, so it is easier to keep the set tidy.
Whichever you choose, avoid oil-based products near the eyes while wearing the set, and keep the pieces away from steam. When it is time to take them off, follow how to remove false eyelashes and be patient. If anything stings, reddens or swells and does not settle, remove the lashes and stop. See a doctor for pain or a change in vision.
Will either one damage your own lashes?
Neither type is risk-free. Any product placed on or near your own lashes can cause trouble if it is applied too heavily, left on too long, or removed by pulling. The common problems are the same for both: too much bond, a set left on past its time, rubbing the eyes, and tugging a piece off dry.
| Habit | Why it matters |
|---|---|
| Use a small dot of bond | Heavy bond is hard to remove and can weigh pieces down |
| Place pieces under or beside your lashes, as the pack directs | Keeps weight off a single lash |
| Use a remover made for the bond | Dissolves the bond so you do not pull |
| Give your lashes a break between sets | Lets you check the lash line is comfortable |
| Stop if it hurts | Pain or swelling is a reason to remove the set |
If you are worried about your lash health, speak to a doctor or an eye doctor; this site is not medical advice.
Which should you choose?
- Choose clusters if this is your first time, you want a fuller look quickly, or you want something forgiving to place.
- Choose individual lashes if you want the most natural finish, you enjoy detailed work, or you want to fill specific gaps only.
- Choose a strip if you want the quickest option for a single evening. See strip lashes vs cluster lashes.
For named cluster sets to start with, see best lash clusters for beginners. For the bond you will need, read lash bond and seal. The cluster lashes hub links to everything else, and the curl chart helps you choose a curl.
Common mistakes and fixes
| Mistake | What happens | Fix |
|---|---|---|
| Starting with long lengths | Hard to hide an uneven placement | Begin with a short range |
| Too much bond | Pieces slide and leave residue | A small dot, tacky before placing |
| Placing on the lid skin | Irritation and early lifting | Keep the base at the lash line |
| Skipping the seal when the system uses one | Pieces lift sooner | Seal as the directions say |
| Pulling a piece off dry | Can pull natural lashes | Use a remover |
| Leaving a set on too long | Bond builds up | Remove when pieces lift |