What bond and seal actually are
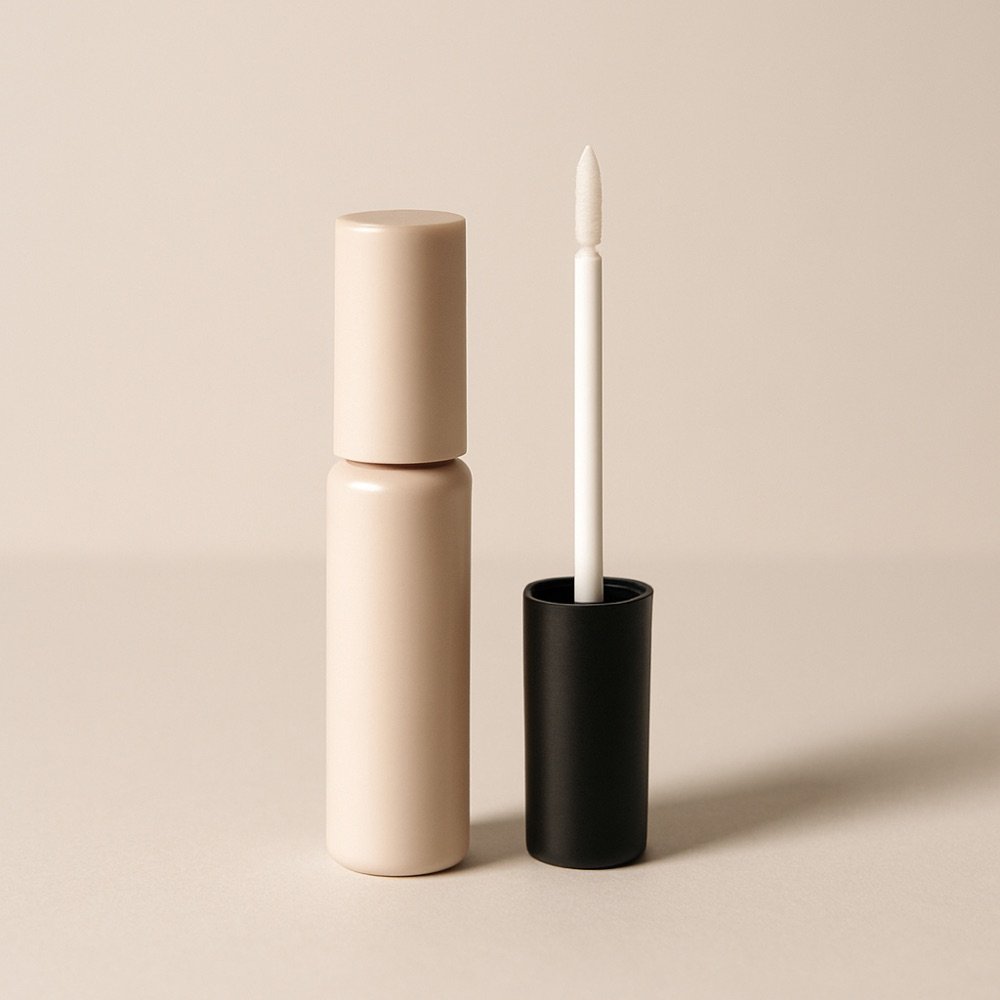
Bond and seal is a two-step adhesive system for cluster lashes and individual lashes. The bond is the adhesive that holds a piece to your lash line. The seal is a second coat that goes over the finished join, to strengthen it and smooth the edge of the bond. Together they are meant to give clusters a longer hold than a single dab of glue would.
The wording can confuse. Some products sell bond and seal as two tubes. Others sell a single bond with no seal step, and describe it as an all-in-one. Read the pack before you buy so you know how many steps you are signing up for and whether the applicator is included.
This site covers at-home lashes only. Professional adhesives used by trained lash artists on natural lashes are stronger, work differently and are not meant for home use, so please do not substitute them.
Bond and seal vs strip lash glue
Strip lash glue and cluster bond look similar in the tube and are not interchangeable. Strip glue is made to hold a whole band along the lid for an evening. Bond is made for small pieces placed at the base of your own lashes, and is usually thinner and quicker to set.
| Bond and seal | Strip lash glue | |
|---|---|---|
| Made for | Clusters and individual pieces | Strip lash bands |
| Where it goes | On the base of each piece | In a thin line along the band |
| Steps | Bond, place, then seal | Glue, wait until tacky, place |
| Colour | Clear or black | Clear or black |
| Typical hold | Meant to last longer than a day | Meant for a day or an evening |
| Removal | A remover made for the bond | Peel off the band, or use remover |
If you are buying glue for strips, see the lash glue buying guide. For clear versus black, clear vs black lash glue explains the choice, and the same logic applies to bond.
How to use bond and seal, step by step
The exact steps depend on the maker, so read the directions first. The usual order for clusters is below.
- Prepare. Clean, dry lash line with no oil or product at the base. Curl your own lashes first if you wish.
- Plan. Print a lash map so you know the length and spot for each piece. The cluster lash map does this.
- Dot the bond. Take a small dot on the applicator, or touch the base of the cluster to a dot on a clean surface. Less is better.
- Wait for tacky. A few seconds. Placing it too wet makes the piece slide.
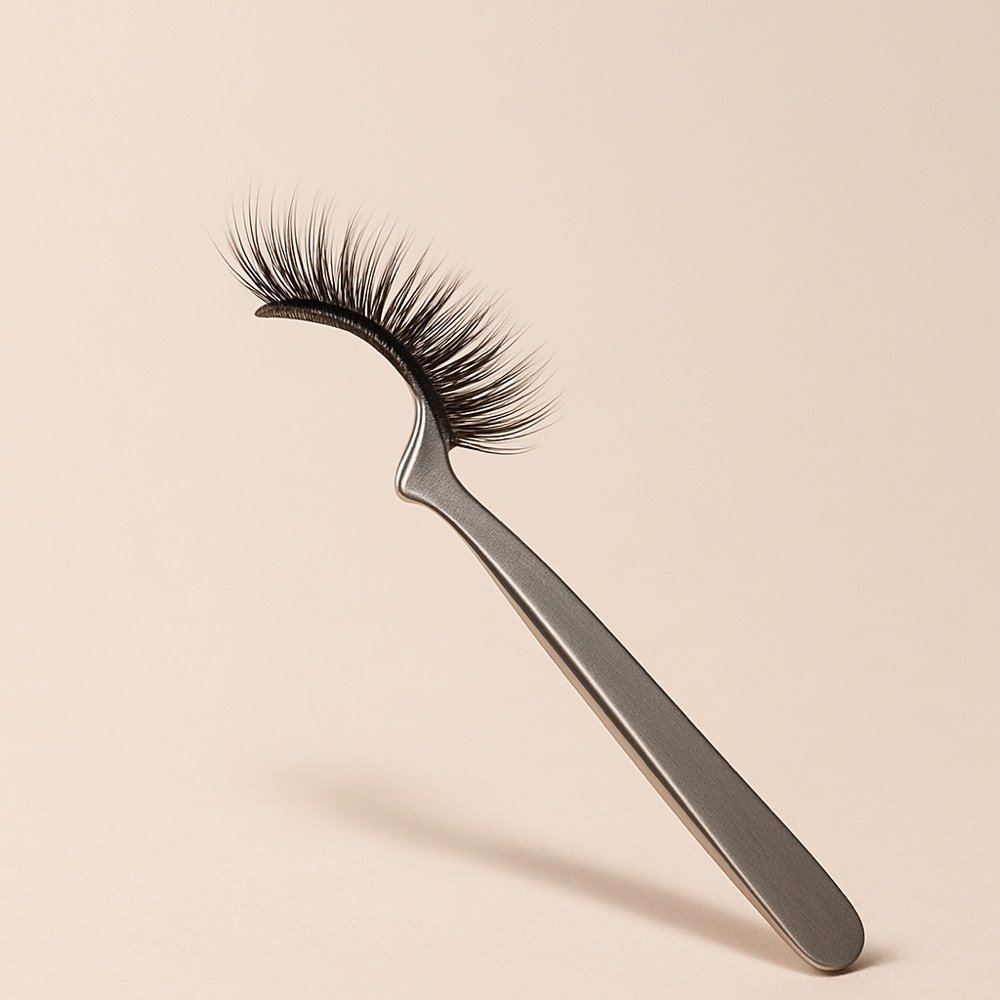
- Place. Hold the cluster by its base with tweezers and set it close to the lash line, under or beside your own lashes as the pack directs. Hold for a few seconds.
- Repeat from the outer corner inwards.
- Seal. When all pieces are placed, follow the directions to brush a thin seal over the join and let it set before opening your eyes fully or going near water.
Every step is covered with pictures in how to apply cluster lashes. If you have not chosen a set, best lash clusters for beginners lists some.
| Type | Dries | Often chosen for | Check first |
|---|---|---|---|
| Clear | Clear | Light, natural looks | Hard to see while applying |
| Black | Black | Blending with dark liner | Can show if it spills past the band |
| Latex-free | Clear or black | Anyone avoiding latex | The ingredient list, not just the claim |
| Brush-on or tube | Same as the type above | Control over how much you use | A thin line works better than a thick one |
How to choose a bond and seal
| Check | Why it matters |
|---|---|
| One step or two | A two-step system has an extra step but is built for hold |
| Clear or black | Clear blends for natural looks; black reads as liner |
| Made for clusters | Strip glue and extension adhesive are not the same |
| Ingredients | Read the list if you react to some adhesives, and patch-test |
| Applicator | Some tubes include a dual-ended brush or tip, some do not |
| Removal | Does the maker sell a remover for this bond? |
| Latex | Look for the maker's own statement and read the label |
Colour is a good first decision. Clear bond is forgiving for natural looks because any bond showing at the base is hard to see. Black bond works like a thin line of liner and suits dramatic or wispy looks. See the latex-free glue guide if latex matters to you.
Read what each pick on this page is for before you choose. The two KISS Falscara tubes are two-step systems; the water removable bond is a single step; the remover is a separate product for taking the set off.
Safety, patch tests and removal
Adhesives near the eyes call for care. Patch-test any bond or seal on your inner arm 24 to 48 hours before first use. Keep it away from the eye itself. If your eyes sting, redden or swell and it does not settle, remove the lashes and stop using the product. See an eye doctor for pain or a change in vision. This site is not medical advice.
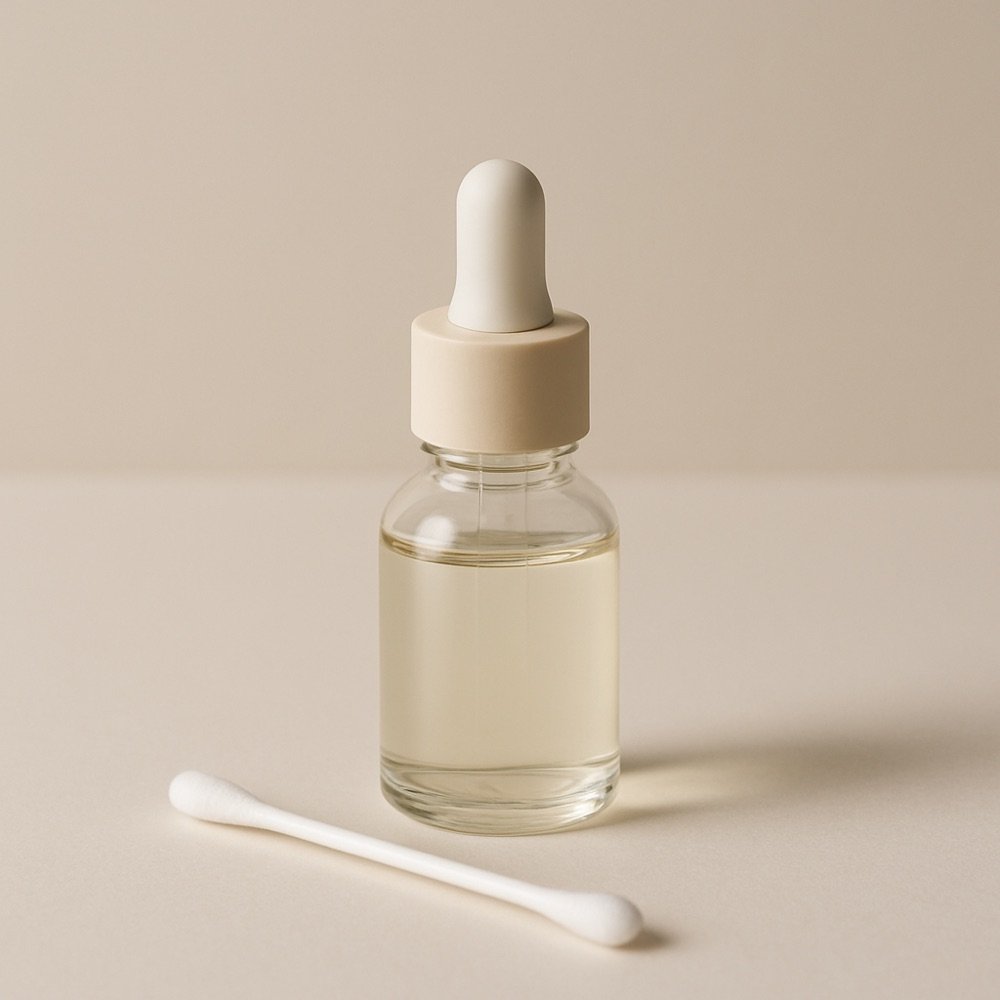
When the set is done, do not pull the pieces off dry. Use a remover made for the bond and follow its directions, closing your eyes while you work and keeping the remover out of them. Our steps are in how to remove lash glue and how to remove false eyelashes.
| Before | During | After |
|---|---|---|
| Read the ingredients | Small dot, not a bead | Use the maker's remover |
| Patch-test 24 to 48 hours ahead | Keep it off the lid skin | Clean the lash line |
| Check the date and storage | Close your eyes while it sets | Stop if it irritates |
Troubleshooting: when pieces will not hold
| Problem | Likely cause | Fix |
|---|---|---|
| Pieces slide when placed | Bond too wet or too much | Wait until tacky and use less |
| Pieces lift after a few hours | Oil at the lash line or no seal | Clean the base well; seal as directed |
| White residue | Bond layered too thickly | Use a smaller dot; clean before the next set |
| Tube is stringy or thick | Old or dried out | Replace it; check the date |
| Lashes feel heavy or itchy | Too much product or a reaction | Remove the set and stop if it persists |
Keep the tube closed tightly and stored upright in a cool, dry place. Replace old tubes rather than thin them. The lash glue and tools hub links to every adhesive guide, and the adhesive ingredients guide explains what is in the tube.